Sourcing & Orders
Beaded Lace at Seams: Plan Clearance and Secure the Motif
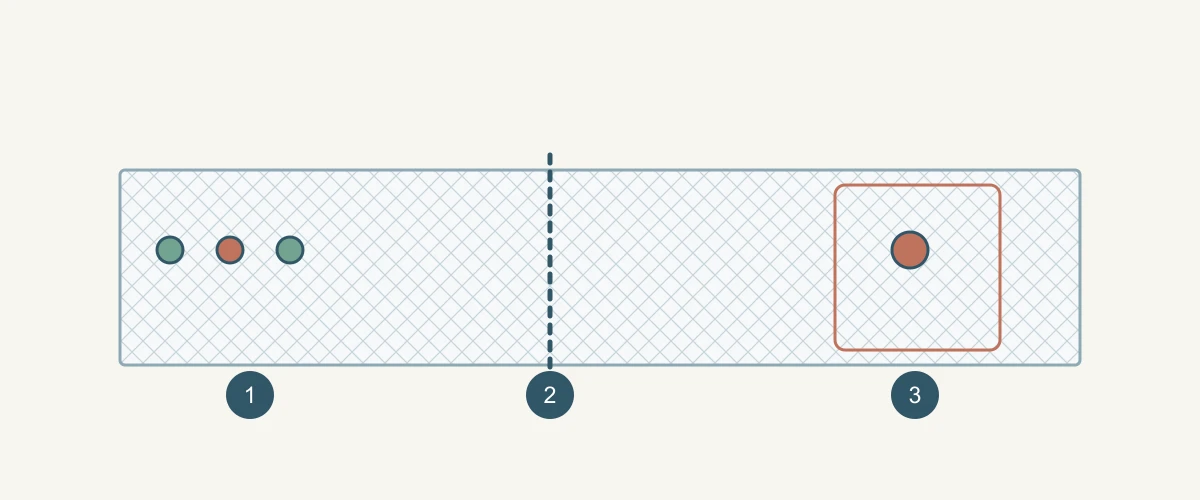
A beaded lace panel can look perfect flat and still be difficult to join. A bead may sit where the needle, zipper, fold or press needs to pass; removing it may disturb a shared fixing thread. The useful question is not simply how wide the seam allowance is, but how the motif and its attachment relate to the assembled seam. Map those paths before cutting, then approve a seam sample made with the intended ground, lining and finish.
Put the actual seam line over the actual motif
Lay the approved pattern piece on a full repeat of the beaded lace. Mark the stitching line, seam allowance, fold, zipper or closure position and visible edge separately. Photograph the placement from the face and reverse. A bead outside the stitch line can still block a presser foot or create a hard lump after the seam is turned. Conversely, a clear sewing path can leave an unattractive gap in the visible motif.
Check mirror-image panels and joins across a repeat. Moving the cut line to avoid a bead can alter the garment width or upset alignment; it is a pattern decision that needs approval, not a last-minute trimming instruction. Existing advice about sequin seam allowances does not establish how a particular bead is fixed or whether neighbouring beads share a thread.
Identify what holds each component before removing one
Examine a spare swatch on both sides. Is the bead independently stitched, threaded into a run, seated in a setting, or attached to an embroidered support? Manufacturers' sewing information distinguishes beads and sew-on stones, and sew-on stones can have holes for hand or machine application. That describes possible components, not the construction of an unseen All4Lace article.
If beads share a fixing path, cutting one off the allowance may release those left visible. Ask the maker to demonstrate a proposed removal and securing method on a sacrificial sample, retaining the first cut version for comparison. Do not publish a universal instruction to cut every thread flush; the correct treatment depends on the actual attachment, thread and ground.
| Zone to mark | Question for the sample |
|---|---|
| Stitching line | Will the needle or foot contact a component? |
| Allowance and fold | Will a bead form bulk against skin or lining? |
| Visible motif | Will clearance leave a gap or disturb the repeat? |
| Fixing path | Will removal release any retained bead? |
Compare practical assembly options on the same pattern
Option one is to position the motif so a naturally clear channel meets the seam. Option two is to remove or relocate selected components in a planned allowance, with the remaining attachment secured and documented. Option three is to change the seam or overlay arrangement and obtain a new pattern approval. None of these is automatically best: each can change appearance, cost, labour or usable fabric consumption.
Keep ground lot, bead design, lining, pattern size and intended seam operation constant when comparing options. If a proposed adjustment changes motif spacing, ask for a whole-panel photo and a close-up of the transition. The final choice must consider both the front view and the back of the assembled garment.
Make a full seam trial, not only a flat swatch
Ask for a labelled trial that includes the true seam length, crossing motifs, seam finish, lining and any zipper or facing. Inspect needle clearance, stitch continuity, ground damage, reverse-side thread ends, pressing effect and wearer contact. Preciosa's application guidance calls for tests on the selected base material before production, reinforcing the need to verify the real assembly rather than assume a generic setting will work.
The sewing team should select compatible tools and machine settings for its particular components. A buyer's brief should state the desired visible result and inspection points, not invent needle sizes, stitch widths or minimum bead-clearance dimensions. If a bead breaks in the seam trial, retain the broken part and the panel to locate what actually touched it.
Technical references
Approve the retained decoration and finished seam together
Record the approved panel with pattern revision, fabric lot, motif position, seam method and any beads intentionally removed or replaced. Define acceptance for loose neighbouring beads, damaged mesh, exposed thread, uneven motif spacing and bulky contact. If the seam is covered by a lining, inspect the lining in place rather than assuming it solves a protrusion or colour issue.
A neat stitch line is not enough if the seam weakens a shared bead attachment. Coats identifies abrasion resistance as a factor in selecting garment sewing thread, which matters when fixing threads will rub in wear. That general guidance does not prove that a particular thread, bead or seam passes a wear test. If formal durability evidence is needed, commission a method and criterion suited to the finished design.
Technical references
Specify the seam before requesting a quote
Send a full-repeat beaded sample or clear face-and-reverse photos, the pattern piece with seam and fold lines, garment size, lining, closure and desired visible motif placement. Mark where components may be removed and where they must remain. State whether the supplier is quoting fabric only, a prepared panel or an assembled garment; those are different scopes of work.
Ask All4Lace for a labelled fabric or panel sample that lets the garment maker test the actual join. Keep any approved removal and securing method with the pattern version for repeat orders. A price per metre cannot capture the loss or extra work caused by a bead-heavy seam unless the placement and assembly choices are defined.
Discuss your embroidery project
Send All4Lace the beaded-lace reference, complete motif image and marked seam lines. We can help organise a sample brief so your maker can approve clearance, motif continuity and the finished join.
Contact Zhijin