Materials & Applications
Bridal Veil Lace Trim: Plan the Border Before Choosing the Motif
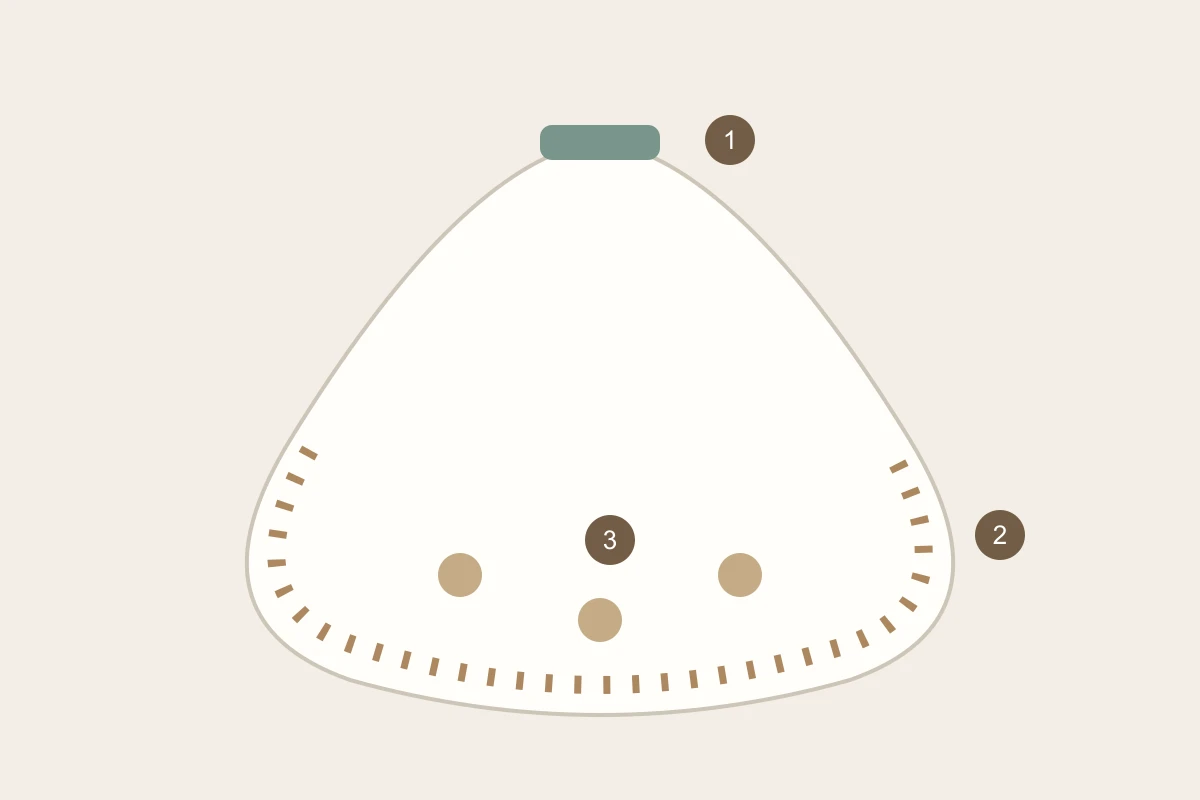
Choose bridal veil lace trim by mapping where the lace will run, then observing that arrangement on the intended veil base. A continuous border, a lower-edge accent and scattered motifs create different review tasks. The useful starting point is a route drawing with decoration positions and a suspended sample—not an isolated flower chosen without its surrounding veil.
Draw the route from the attachment to the trailing edge
Identify the veil outline, attachment area, face-framing section and lower edge. Mark which sections receive trim and where it starts and ends. Veil maker Tara Bridal distinguishes applied lace edging from embroidery worked into the veil fabric. Specify which form you are discussing so the quotation and sample use the same construction idea.
For a layered veil, draw each layer separately. A border that looks balanced from behind may sit across the face when another layer is brought forward. Show the intended wearing positions and mark decoration-free areas deliberately. This gives the trim supplier a clear placement brief while the veil maker retains responsibility for the finished accessory.
Technical references
Compare distribution, not only the width of the lace
Make two layouts on the same veil base: for example, a continuous border and a border concentrated around the lower sweep. Keep motif identity and overall veil shape identifiable. Hang each arrangement from the proposed attachment and observe the outline, folds and left–right relationship. Record where decoration is concentrated rather than assuming equal trim width means an equal result. To examine weight distribution, label one fixed set of decorative pieces and move that same set between the two proposed zones. Keep the total decoration unchanged for this comparison. If mass is a selection factor, weigh each labelled group on the same scale and record its position and actual mass alongside the suspended and worn observations.
Review any beads or raised details as separate placement choices. A concentrated cluster near the attachment and the same cluster at the lower edge deserve separate assembled observations. Ask the wearer and maker which arrangement they prefer during walking and turning. If handling or visual balance changes, describe the actual observation and the revised position.
Resolve curves and corners with a real join sample
Trace a representative curved section of the border and include any pointed or squared corner in the sample plan. Lay the proposed trim along that route without disguising excess length in the photograph. Decide with the maker whether the design will use a continuous strip, arranged motifs or a designed join. Each approach creates a different visible meeting point.
For paired sides, select the feature that should meet at the lowest point or centre. A whole flower, a gap between motifs and a scallop valley give different compositions. Keep a labelled sample of the chosen meeting point. Include the nearby veil base in close views so the join can be judged as part of the edge.
Use a three-part veil sample brief
The drawing, suspended view and join sample answer different questions. Review them together before counting trim lengths, because moving the start point or changing a corner can alter the cutting plan.
| Sample part | Include | Decision it supports |
|---|---|---|
| Route drawing | Each layer, start and end marks, face area | Continuous edge or selected zones |
| Suspended arrangement | Intended attachment and full outline | Decoration distribution and wearing view |
| Curve or corner sample | Actual base, trim and proposed meeting point | Join appearance and repeat placement |
Hypothetical example: a clear face area and decorated train
Suppose a team proposes a veil with an undecorated face-framing area and floral lace around the lower trailing edge. This is a hypothetical brief. The first suspended arrangement shows the border beginning higher on one side. The team marks a shared start reference on the route drawing rather than correcting the photograph.
A second sample uses those marks and includes the meeting point at the lower centre. The team prefers the revised balance but wants one large flower moved away from the join. That is a placement revision, not a request to shorten the whole veil. The drawing and sample receive a new version together.
Turn the chosen arrangement into an orderable trim brief
Record the selected trim reference, visible face, motif direction, route version and number of veil pieces planned. Give trim lengths and individual motifs separate units if the design uses both. Keep joining allowance and cutting decisions with the veil maker’s layout rather than adding an unexplained percentage to the perimeter.
Store a labelled base-and-lace combination with the approved curve sample and wearing views. State whether the enquiry covers lace trim, individual decorations or another agreed material scope. List attachment and veil assembly as separate tasks when they are outside the material order, so the supplier can respond to the actual requirement.
Discuss your embroidery project
Send All4Lace the veil route drawing, base reference, proposed trim zones and a representative curve to discuss suitable lace sampling and the material scope of your enquiry.
Contact Zhijin