Customization & Sampling
Invisible Zippers in Lace Dresses: Support, Clearance and Lining
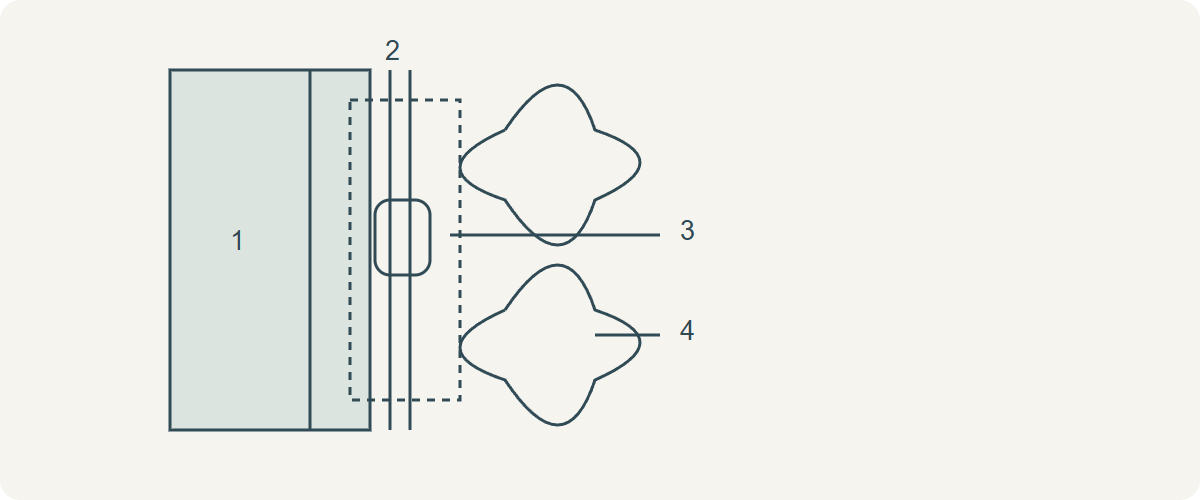
An invisible zipper in a lace dress needs a stable carrying seam, a clear coil and slider route, and a lining that stays out of the mechanism. Fine lace can be mounted to an appropriate underlining at the opening, or the dress can use another engineered closure. Sewing a zipper tape to scattered net strands is not adequate simply because the zipper looks hidden. Build the complete opening as a trial before cutting away decoration.
Distinguish underlining from a free lining
An underlining is mounted to the lace and handled with it as part of the main panel. A separate lining finishes the inside and is not automatically the structural layer holding the closure. Identify exactly which continuous material each zipper attachment line penetrates and where that material joins the rest of the garment. A decorative sheer panel may require an added opening strip or a different closure rather than the same technique as a backed skirt.
The girl. Inspired. lace-skirt tutorial first combines lace with a heavier satin layer and also uses a separate lining. That example helps show the layer distinction. It does not prove that an invisible zipper can hang from any delicate illusion net or that an unseen narrow backing is always enough for a tight bodice.
Technical references
Mark the whole operating corridor
On the complete trial, mark the finished seamline, coil position, upper finish, lower end and garment junctions. Open and close the actual zipper beside the proposed lace stack to establish the space required by both tape and slider. Include projecting beads, cords, flower edges, lining and thread tails; the slider may catch an item that lies outside the needle line. There is no universal clearance width for every zipper and decoration.
If decoration occupies the corridor, first identify its anchoring route. Remove only what the construction requires, secure retained stitching ends independently, and check that adjacent motifs remain held. Cutting a shared chain of embroidery can release decoration farther along the panel. Glued decoration requires a different preparation trial; pulling it off can damage the ground or leave an adhesive ridge.
Prepare a stable seam without stretching it
Fit and stabilise the opening to the pattern’s intended finished length, using a tested support compatible with the ground and appearance. Baste the layers in a relaxed state and keep corresponding waist or horizontal seam marks aligned. A strip that is stiff enough to look flat on the table can still be too visible or uncomfortable; assess it on the intended body area.
Finish raw edges by the chosen assembly method before they can enter the coil. Do not overlock through beads or sequins, and do not let edge finishing narrow the structural allowance needed for attachment. Compare both sides against the pattern after preparation; if one side has lengthened, resolve the handling or support problem before using the zipper to pull it back into place.
Attach the zipper to the carrying layer
Follow the actual zipper and machine-foot instructions for coil preparation and foot selection. The House of Sew’s original tutorial aligns the open coil to the intended seam and checks needle clearance at the foot. On the supported lace trial, baste the first tape without twisting, keep the decorative layer clear, and stitch on the carrying allowance beside the coil without catching the coil itself. Do not force the foot over a hard embellishment.
Close the zipper to mark corresponding garment junctions on the second tape, reopen, baste that side and confirm alignment before permanent sewing. Join the seam below the zipper as required by the pattern, without catching the opposite tape or lining. Check the small transition at the lower end from both faces; a gap, pucker or abrupt twist there is a construction fault even if the upper section closes.
Technical references
Keep the top stop and lining functional
Plan the upper finish with the zipper’s actual stop and tape extension. A folded tape end must not obstruct the slider or leave a hard exposed corner against skin. Where a hook-and-eye is designed above the stop, it also needs a supported anchoring point; it is not an excuse for an overloaded zipper or an incorrectly fitted opening.
Attach the separate lining to the zipper tape using a planned line away from the coil, enclosing its raw edge without pulling the lining taut. Keep sufficient movement for the intended assembly and secure the lining’s lower transition so it cannot drift into the slider. Operate the zipper after removing temporary basting and with the garment supported as worn, then inspect again from the inside.
Diagnose resistance instead of forcing the slider
Hypothetical example: a trial closes flat off the body but catches at a raised flower beside the waist junction when shaped over its underlayer. Keep the zipper unloaded, locate the contact and trial moving or removing that flower edge while securing its remaining anchors. If drag disappears only when the bodice is stretched, reassess fit and support as well; the observation does not prove decoration is the only cause.
| Symptom | Inspect | Revise before approval |
|---|---|---|
| Catches at one height | Decoration, seam bulk, folded tape | Clear corridor and transition |
| Wave along tape | Stretched allowance, unequal feed, support | Fresh relaxed assembly trial |
| Lining enters coil | Lining edge and attachment path | Reset lining with planned clearance |
| Closes flat, strains when worn | Fit and load into carrying seams | Reassess garment support or closure |
Discuss your embroidery project
For an All4Lace dress-material enquiry, send the closure location, underlining and lining proposal, a seam sketch and close photographs of the decoration near the opening. Ask for a sample that includes the complete zipper corridor.
Contact Zhijin