Customization & Sampling
Lace Trim Around a V Neckline: Plan the Point and the Attachment
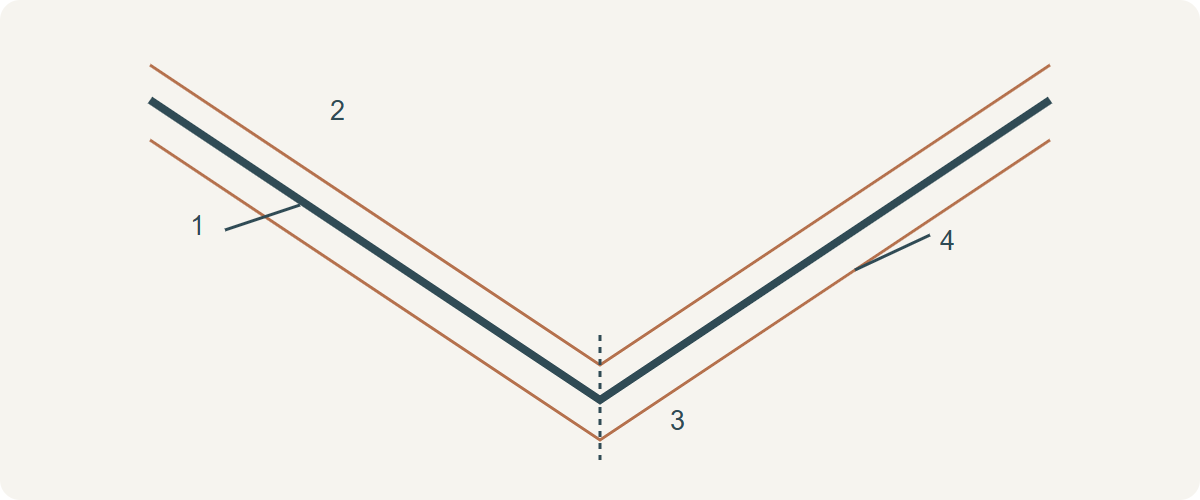
Lace trim around a V neckline must follow the finished neckline without pulling it longer, and its two sides need a planned join at the point. Finish and stabilise the garment opening first for an applied trim. Then use a full-size V template to position the heading and decide whether a secured miter, a motif overlap or separate centre detail can turn the actual trim. Do not clip the lace heading simply because a woven facing tutorial clips the garment’s seam allowance.
Start from a finished neckline, not the cut edge
This guide covers applied lace on a finished stable V neckline. It is not an insertion that removes the garment beneath the trim, and it does not provide a stretch neckband ratio. Have the garment neckline fitted and completed by its intended facing, binding or lining method first. Mark centre front, the finished point and matching reference positions on both sides while the garment lies relaxed.
Megan Nielsen’s original woven-facing tutorial emphasises a controlled point and supporting facing. Closet Core similarly shows stabilisation and accurate stitching on its woven V. These sources concern the garment opening: their clipping and pressing instructions do not authorise cutting structural lace yarns or applying the same heat to embellishments. Keep the two constructions separate in the sample record.
Measure the actual attachment line
The cut neckline and its finished edge have different lengths. The lace heading can sit above, over or below that finished edge depending on the designed overlap, so mark its own attachment line. Measure along that route with the template, recording left and right lengths separately. Do not measure a straight chord between shoulder and V point if the actual path curves.
Hypothetical example: the left and right finished attachment runs are each 260 mm. The visible run totals 520 mm, before any shoulder end treatment or centre joining allowance. It does not follow that a 520 mm cut length is enough: a particular motif position, lap or miter consumes additional material determined on the full trial. Keep those additions itemised rather than hiding them inside a universal percentage.
Set the point with a full-size paper V
Draw the finished V and the proposed heading position on paper, then lay the actual lace over it without tension. Match comparable motifs at the two sides if the design calls for symmetry, keeping both fabric face and motif direction labelled. Where the neckline is curved above the point, check whether the heading naturally follows it. A stiff straight band that lifts or wrinkles needs another construction or another trim.
Mark the complete outer decorative boundary, not just the heading. At the point, one line can meet neatly while the scallops collide, create a hole or project below the intended depth. Adjust placement on spare material before cutting the garment length. A square corner’s 45° line is not a universal V-neck miter: the V angle and which side the trim occupies determine the actual geometry.
Choose a centre join that can be held permanently
A folded miter is a candidate only when its retained layers lie flat and can be permanently secured through suitable connected material across the part requiring restraint. A cut miter needs a complete supported joint along the joining edge. A motif overlap can work where connected motifs cover and bridge the junction; it is not created by laying one flower over an unsupported gap. Plan the exact anchoring path on both sides.
Baste the selected arrangement while it remains on the template, then complete the permanent centre join on a spare assembly. Retain surplus until the join holds without temporary help. Trim only according to that successful seam or overlap allowance, protect retained anchor threads, and finish any exposed cut end that needs restraint. If the only sewable region is a narrow heading, it cannot automatically finish the lower decorative portion.
Attach both sides without using lace as a correction
Place the completed trial point on centre front and align the marked heading on both sides. Baste at corresponding references through connected material, supporting the garment weight. Sew the attachment path established for that heading, catching the finished garment edge and the usable heading throughout. A straight seam is only suitable where the stack and required movement allow it; an extensible opening needs an appropriate tested attachment.
Do not stretch the lace to pull a gaping neckline into shape or gather the garment under a rigid heading to make the lengths meet. Those actions change the fitted opening. If references cannot align naturally, stop and distinguish a distorted neckline from an incorrect lace route or unsuitable heading. Rebuild the affected trial rather than shortening a finished edge without pattern approval.
Check the worn point and the complete reverse
Remove temporary basting and designated removable support, then assess the relaxed assembly over the actual inner layers. Check centre position, equal visible widths, edge contact, hard stacks, loose folds and remaining exposed cut ends. Lift and lower the garment as it will be used, and include its required care on the sample. A point that is flat only when pinned to the table has not passed this check.
| Problem | Inspect | Decision |
|---|---|---|
| V point is bulky | Fold layers and motif overlap | Compare a supported cut joint or another centre detail |
| Scallops collide | Actual decorative boundary | Reposition repeat or use another trim |
| Neckline gaps after sewing | Length change and attachment feed | Recheck pattern and relaxed assembly |
| Point unfolds after basting removal | Permanent centre restraint | Complete the joint before full attachment |
Discuss your embroidery project
For an All4Lace neckline-trim enquiry, send a full-size finished V outline, visible-width preference, fabric and support references, and whether the opening must stretch. Add a photograph of the complete trial point and reverse.
Contact Zhijin