Materials & Applications
Bugle vs Round Seed Bead Embroidery: Lines, Points and Motif Direction
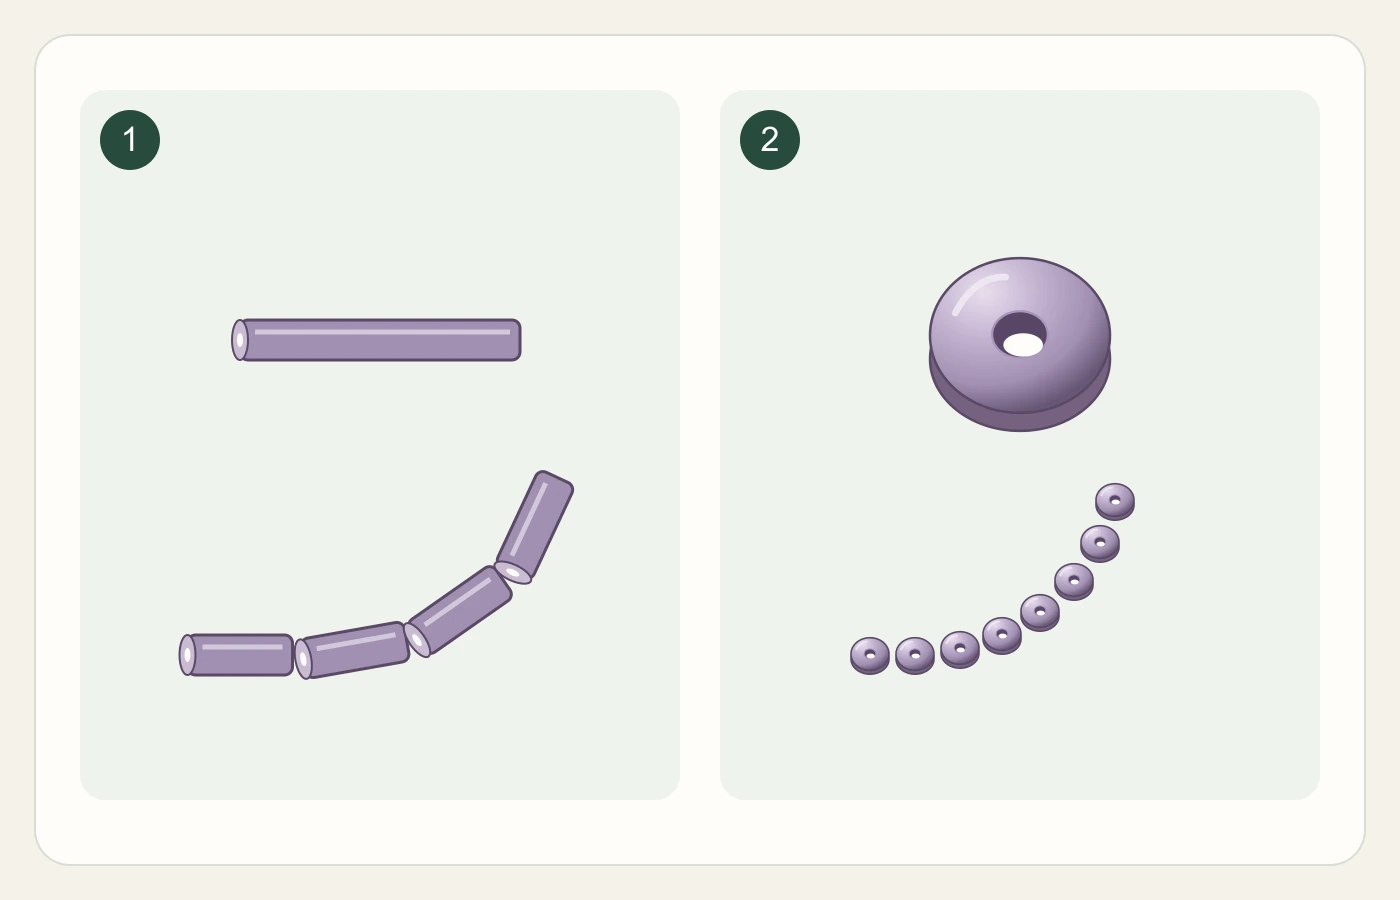
Bugle beads are elongated tubes; the seed beads meant in many buying comparisons are small rounded beads. Strictly, seed bead is a broader category that can include bugles, so specify round seed beads when that is what you want. The practical design comparison is between a line-like component and a point-like component. Use their direction and grouping to decide how the embroidery should describe a stem, outline, centre or scattered detail.
Use a shape name that resolves the ambiguity
MIYUKI describes bugles as slender tubular beads and lists several shapes within the seed-bead family. Its terminology helps clarify a brief, without supplying the specification for another manufacturer’s sample. Write tubular bugle and small round bead as separate component entries, then add the actual offered material, colour and finish to each.
Identify lengthwise direction for the tube and the general rounded form for the other component. Add a close face view and an oblique view to show which element is being discussed. In the cover diagram, 1 and 2 label those shapes; use the same labels on a sketch if both appear in one motif.
Compare lines and points on the same drawing
A long component makes its orientation an obvious part of the drawing; a group of small round components can describe a path through its sequence. Keep the underlying motif and colour relationship comparable while deciding which reading you prefer. Neither shape alone determines fabric weight, softness or attachment quality.
| Design question | Tubular bugle reference | Small round bead reference |
|---|---|---|
| Straight stem | Observe the axes of the tubes | Observe the sequence of points |
| Turning corner | Check how neighbouring axes meet | Check how the sequence changes direction |
| Flower centre | Compare a radial grouping | Compare a clustered grouping |
| Scattered detail | Record the direction of each element | Record the positions of the points |
Mark the path and the turns
Draw the intended centreline of a stem or border first. On a bugle version, mark the direction of each elongated element, particularly where a line turns or branches. On a round-bead version, mark the path and the spacing rhythm. This makes the drawing intent legible before the team decides how to assemble the offered components.
For a curved vine, inspect the transition from a straight section to the bend rather than judging only the longest straight run. A tube arrangement may read as a sequence of segments; rounded points may read as a dotted curve. Select the intended reading on the sample. If a change is needed, mark the transition area instead of asking vaguely for a smoother design.
Develop a flower with a clear division of roles
Consider a flower with a narrow stem, a rounded centre and open petals. One layout could use tubular elements along the stem and round elements in the centre. A second could use round elements throughout. Compare whether the stem and centre remain distinct when the sample is placed at the intended garment position and viewed as a whole.
For a radial petal, decide whether elongated pieces should point toward the centre, follow the edge or change direction within the petal. Those are different drawings even when the same bead is used. Keep a marked layout for each version and compare them on the same ground so the orientation decision remains visible.
Review the actual components and keep their layout
With the garment team, inspect the chosen sample at bends, joins and contact areas. Record loose elements, visible thread paths and the assembled reverse as observations of that sample. Evaluate the construction under the intended handling and care procedure; the geometry drawing serves as a placement reference rather than a sewing recipe.
Retain a component identifier for each shape, the chosen material declaration, face and reverse references and the annotated motif. If a tube is replaced by a different length or a rounded bead by another profile, review the affected path again. Preserve the design decision in concrete words, such as retain the radial direction and keep the flower centre visually separate.
Discuss your embroidery project
Send All4Lace your motif with tubular and round elements labelled, the intended garment position, colour relationship and quantity, so we can clarify the component shapes and placement to discuss for a sample.
Contact Zhijin