Materials & Applications
Cut-Away, Tear-Away or Wash-Away? Choosing Embroidery Stabiliser
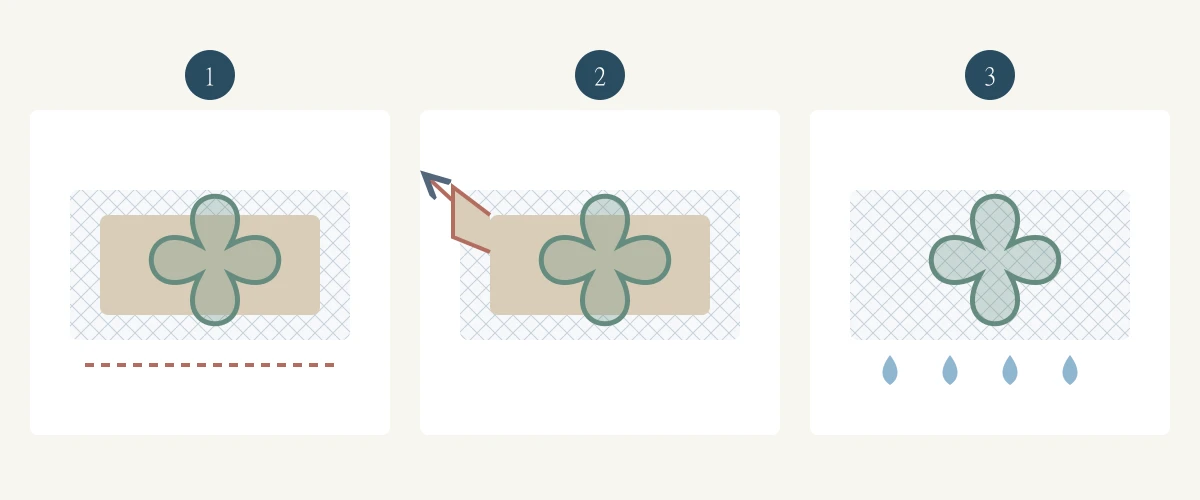
Choose an embroidery stabiliser by the support needed during stitching and after finishing. Cut-away, tear-away and wash-away describe different removal routes, not three interchangeable quality grades. For lace and sheer embroidery, the decisive question is whether the approved appearance and shape survive after the intended removal process.
Start with what must remain after finishing
A permanent backing can continue supporting stitches after embroidery; a removable support cannot be assumed to do that. Madeira distinguishes cut-away backing for ongoing support, tear-away for mechanically removable stabilisation, and water-soluble options removed using water. Its product guidance is a starting point for choosing a sample, not proof that a particular backing suits every lace.
Write the desired finished state first: transparent ground, concealed backing, open spaces between motifs, or a supported panel. A backing that is invisible under an opaque badge may show clearly beneath an unlined sleeve. Review the intended garment view and the reverse together, rather than selecting by the backing name alone.
Technical references
Compare the three routes on the same design
For a useful comparison, keep the ground, thread and artwork revision identified. Record each backing product, layer arrangement and removal process separately. The following matrix describes questions to resolve; it is not a promise that all three routes will work with the chosen construction.
| Route | Decision before approval |
|---|---|
| Cut-away | Can the remaining support and trimmed edge be accepted in the garment? |
| Tear-away | Does removal leave the ground and stitching undistorted? |
| Wash-away | Is the removal process compatible with the complete decorated assembly? |
Review visibility and handle after removal
Place the finished trial over the intended lining and beside an undecorated piece of the same ground. Look for a visible backing outline, trapped fragments in small openings and a change in softness across the motif boundary. Photograph the reverse as well as the face, including an identification label outside the fabric.
A backing hidden in a flat photograph can still be visible when the sleeve bends. Review a representative curved or hanging panel if that is how the fabric will be used. Keep this as an appearance review; it does not establish a measured durability or skin-suitability result.
Approve the removal process before the sample
For a soluble backing, obtain the exact product instructions and confirm that the ground, thread, sequins and any other components tolerate the proposed process. Do not convert a backing supplier’s removal instruction into a garment care label. Embroidery production finishing and consumer laundering answer different questions.
For mechanical removal, have the sample team show the completed reverse rather than approving an unfinished stitched panel. If removal stretches the ground or damages a connecting bar, record that failure against the process version. Changing support or removal technique requires another finished comparison, not merely a cleaner photograph.
Build a sample record that survives a reorder
Keep a labelled finished swatch and, where available, a matching pre-removal piece. Record the backing identity, ground lot, thread identity, design revision and finishing route. The comparison should show whether support was deliberately retained, fully removed as specified, or left in an agreed area.
Example: a buyer wants open spaces between floral motifs but needs support inside an opaque waistband. Treat those as separate zones in the brief. One blanket instruction such as “remove all backing” would miss the functional difference. This is a planning example, not a report of an All4Lace production order.
Questions to settle before bulk release
Is wash-away always best for sheer lace? No: its removal must suit the complete construction, and the embroidery must hold its intended form afterwards. Is tear-away always suitable for a stable ground? It remains a sample decision because the motif, openings and removal handling also matter.
Can a thicker backing solve puckering? Do not approve that substitution without comparing drape, visibility and the finished panel. Define the acceptable appearance and review method with the supplier; this guide supplies no universal layer count, backing weight or care temperature.
Discuss your embroidery project
Send All4Lace the ground reference, motif artwork, intended lining and care requirements. Ask for a sample reviewed after the proposed backing-removal process, with the support identity and any remaining material recorded before bulk approval.
Contact Zhijin