Materials & Applications
Embroidery vs Fabric Printing: Stitches, Colour and Combined Decoration
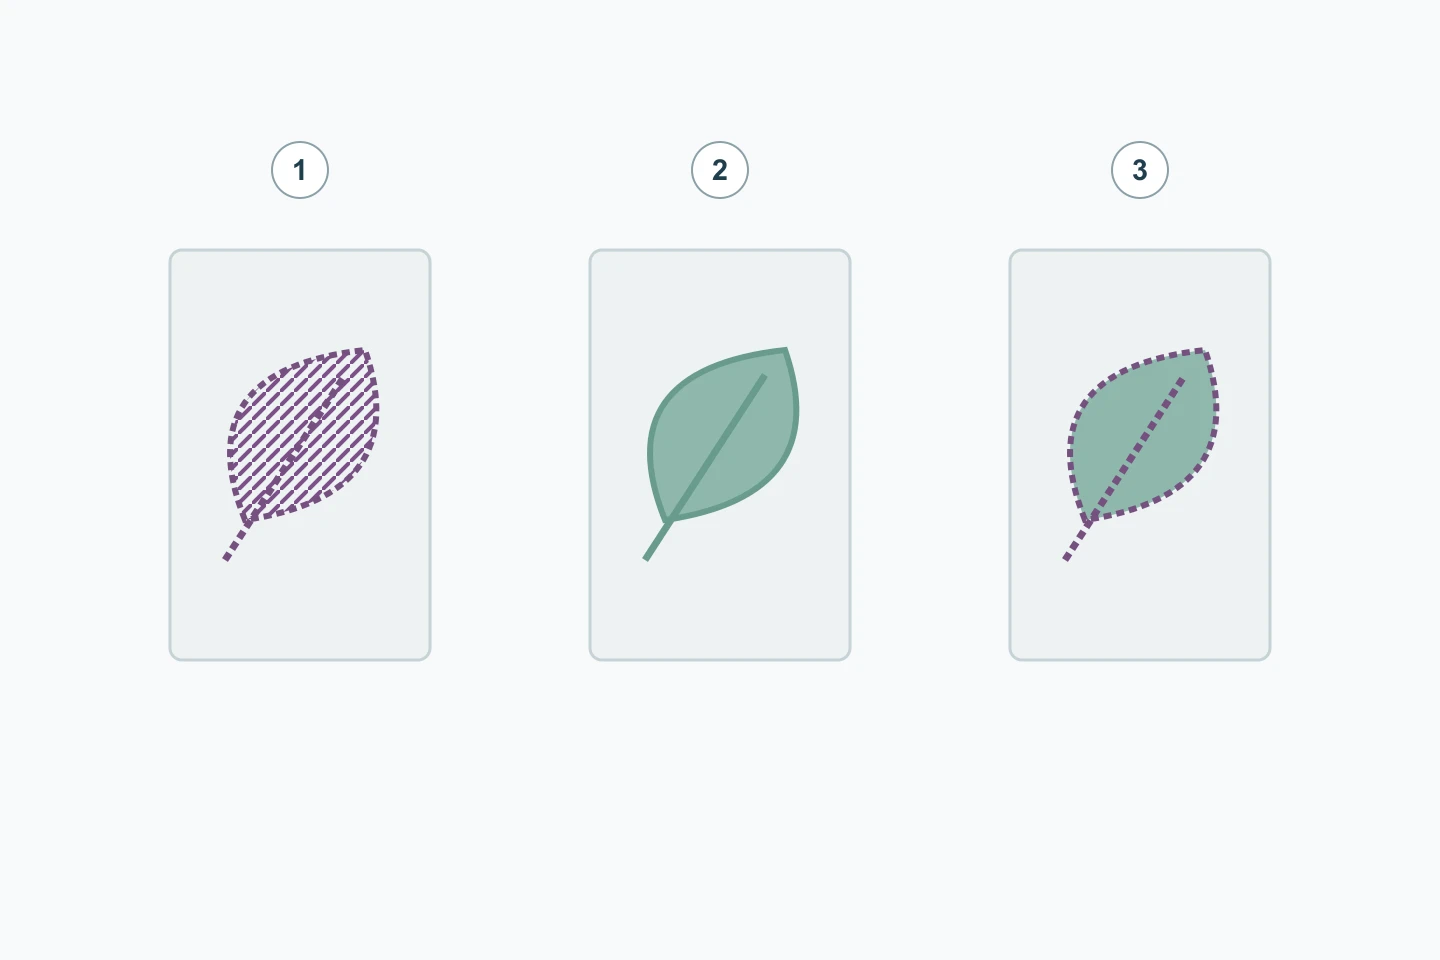
Embroidery builds decoration with stitches and thread; fabric printing places a coloured design onto a textile through a printing process. They can express the same drawing differently and can also appear together. Select the intended visual and tactile details first, then review the actual ground and sample. Neither the word embroidery nor printing establishes a universal price, feel or durability advantage.
Separate the method from the drawing
A leaf is a drawing, not a process specification. Kornit’s method overview describes embroidery as thread sewn into fabric, while CottonWorks distinguishes textile printing systems using dyes or pigments. Write down which parts of the reference are required as thread, which are required as printed colour and which simply describe the desired overall image.
Printing is also a family of processes rather than one identical treatment. Ask for the proposed printing method and ground when comparing an offer. Likewise, identify the intended embroidery appearance rather than asking for the entire picture to become stitching unchanged. Keep the original artwork beside each process proposal so revisions remain visible.
Inspect the face and reverse of the same area
On a physical sample, select one complete motif and photograph the face and reverse at matching orientation. Look for actual threads, stitch entries, the underlying ground and any separate backing or applied component. Mark the features you can identify directly and ask the supplier to clarify what remains uncertain. Keep an overview so the close-up can be located again.
Do not classify a material solely because its reverse looks plain or its face feels raised. A backing can obscure the view, and a printed effect can imitate stitching. Surface appearance is a useful clue, not a complete process record. Combine the two-sided inspection with the named process and component description before describing the reference to another supplier.
Technical references
Compare how one motif should be expressed
For a leaf on a blouse panel, decide whether the priority is a visible thread direction, a specific colour field, the outline or the relationship between them. Review the same intended motif size and garment location in each proposal. A preference for a stitched outline does not mean every part of the leaf must receive dense stitching.
If fine lines, small lettering or a colour transition matter, include them at their actual intended scale in the sample request. Inspect the produced detail rather than a zoomed artwork preview. Use the table to separate the design questions; no row guarantees that one method will reproduce a particular detail successfully on every ground.
| Design question | Stitched proposal | Printed or combined proposal |
|---|---|---|
| Leaf outline | Review thread path and actual outline | Review colour edge or its alignment with stitches |
| Interior colour | Review chosen thread colours and directions | Review the produced colour area or transition |
| Small detail at garment scale | Inspect the actual stitched detail | Inspect the actual printed detail and any overlap |
Describe mixed decoration as separate parts
Wilcom’s mixed-decoration guidance shows that printed detail and real stitches can be combined. In a combined leaf example, the interior might be specified as printed colour and the outline as embroidery. Give both parts a common placement reference, then record where the colour edge and stitch edge should meet in the finished sample.
Check the complete combination after the proposed process sequence, including its reverse and garment assembly. Record a mismatch as a location and a design relationship, such as outline displaced from the leaf tip. Agree how to review the revised sample. Naming two processes does not by itself establish that a particular ground or production route is suitable.
Technical references
Confirm a comparable sample and quotation scope
Retain the chosen ground, artwork version, motif size, garment placement and process allocation together with the finished sample. For a quotation, state which decoration and finishing steps are included and which are separately supplied or still unconfirmed. Compare offers for the same target outcome, not only the number of colours visible in a photograph.
Ask the garment team to define any required wear or care evaluation for the actual finished combination. Keep its outcome separate from a preference for texture or colour expression. If ground, thread, printing process or sequence changes, reopen the affected check. A sample approved for its appearance is not automatically evidence of every performance requirement.
Discuss your embroidery project
Send All4Lace your artwork and garment position, marking the areas that must be stitched. Identify any proposed printing separately so we can clarify the embroidery sample request and any suitable available catalogue reference.
Contact Zhijin