Materials & Applications
Flat vs Raised Embroidery: Compare Surface Height and Garment Layers
Flat embroidery generally describes a comparatively low surface profile; raised embroidery describes elements standing more prominently above the ground. These appearance terms become useful specifications when linked to an approved physical reference and a garment position. Compare finished samples in the clothing arrangement you intend to use: a distinct outline may be wanted on an exposed panel, while a fold calls for a different surface target.
Separate the visible profile from the method
Low profile does not mean zero thickness: embroidery still adds material to a ground. Equally, a prominent surface does not tell you whether it comes from padding, a secured cord, layered decoration or another construction. Ask what creates the profile in the offered sample, then identify which parts remain in the finished material.
As general hand-embroidery references, the RSN StitchBank describes satin stitch as a smooth filling of parallel stitches and padded satin stitch as stitching over padding to raise a motif. Use that distinction to ask two separate questions: what profile is wanted, and what construction creates it in the offered sample? A buyer can then retain the motif drawing while discussing a different surface target.
Compare profiles against the intended clothing arrangement
Start with the same garment position and intended combination of layers. For an accent cuff, compare the visible outline and then fold both samples at the planned fold line. For a panel under another garment, place that outer layer over each option. The questions below help record which arrangement meets the design target.
| Review point | Lower-profile option | More raised option |
|---|---|---|
| Visible effect | Does the drawing remain clear without strong relief? | Is the relief concentrated in the intended areas? |
| Adjacent garment layer | Does the next layer lie as intended? | Does the next layer meet or compress prominent elements? |
| Fold or seam area | Is the folded sample suitable for the construction? | Where do prominent elements sit relative to the fold? |
| Evidence to keep | Approved sample and face/reverse views | Same records plus useful side views |
Use side views without inventing a height
Lay samples on the same support and compare them under similar lighting. Look at the face, reverse and a shallow side angle, then gently arrange them as they would sit on the garment. A cord line, a sequin edge and a dense stitched area can all look different from the side. Record the area you mean instead of labelling the whole cloth high or flat.
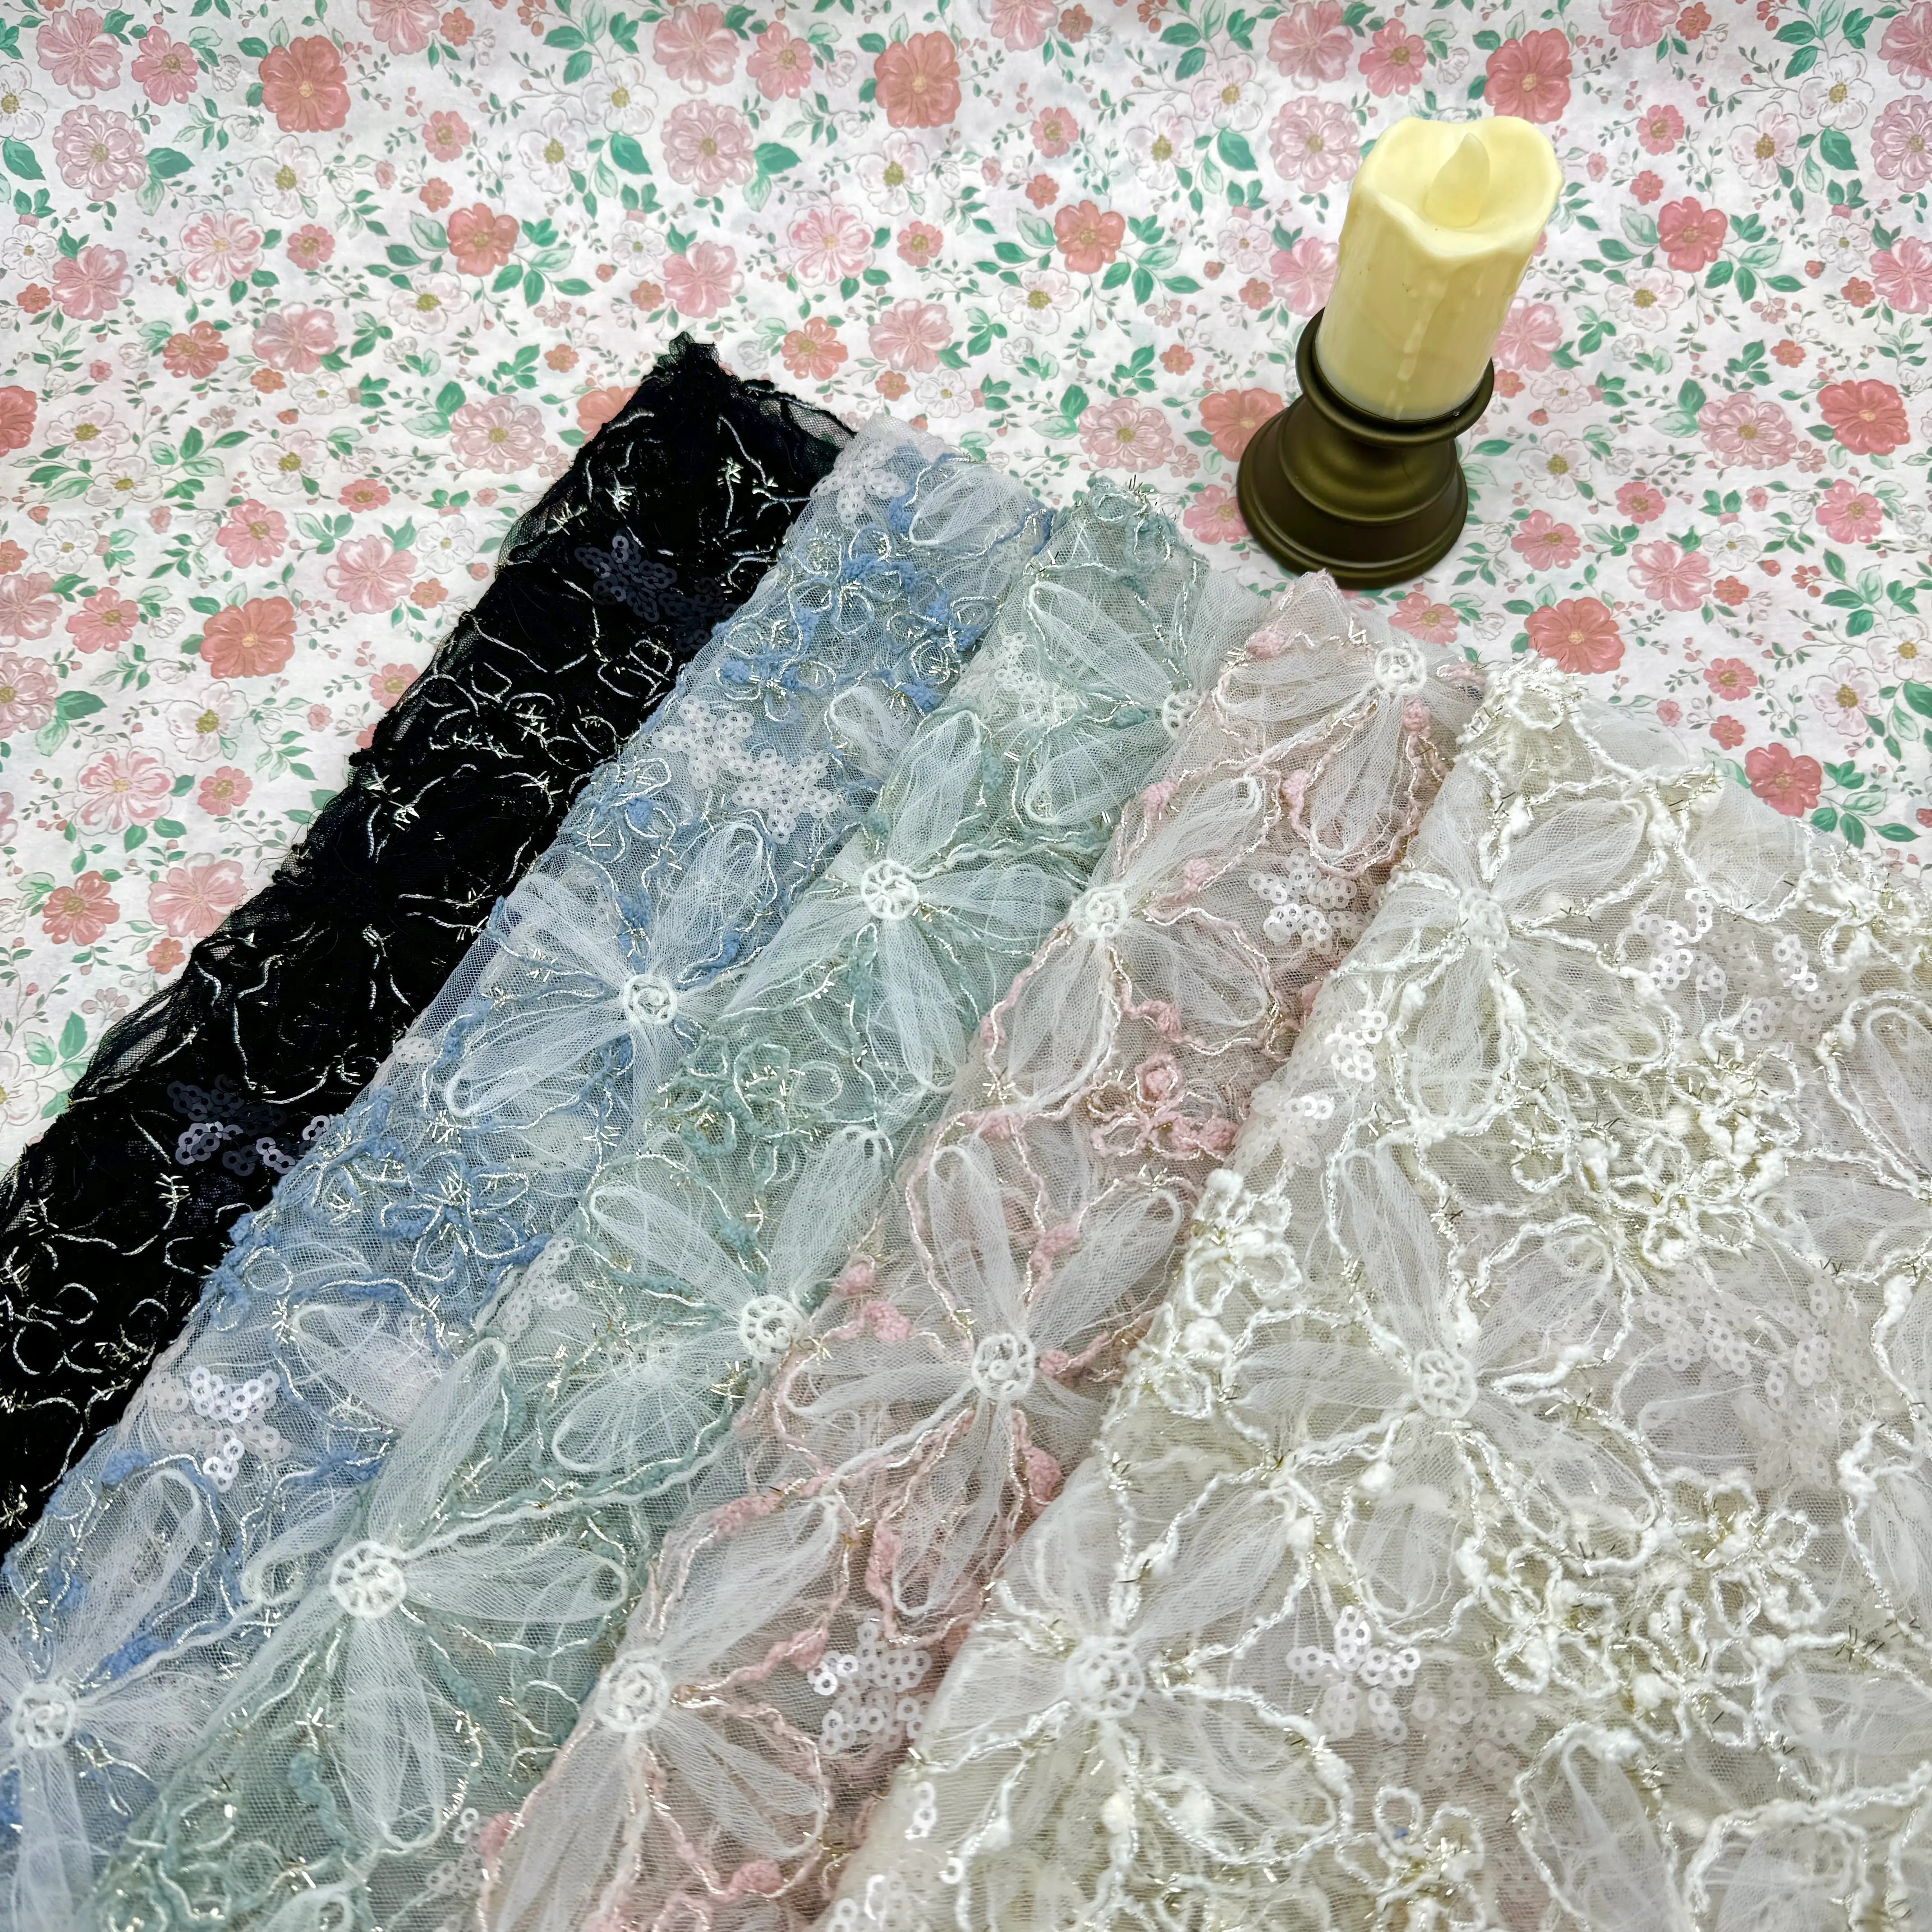
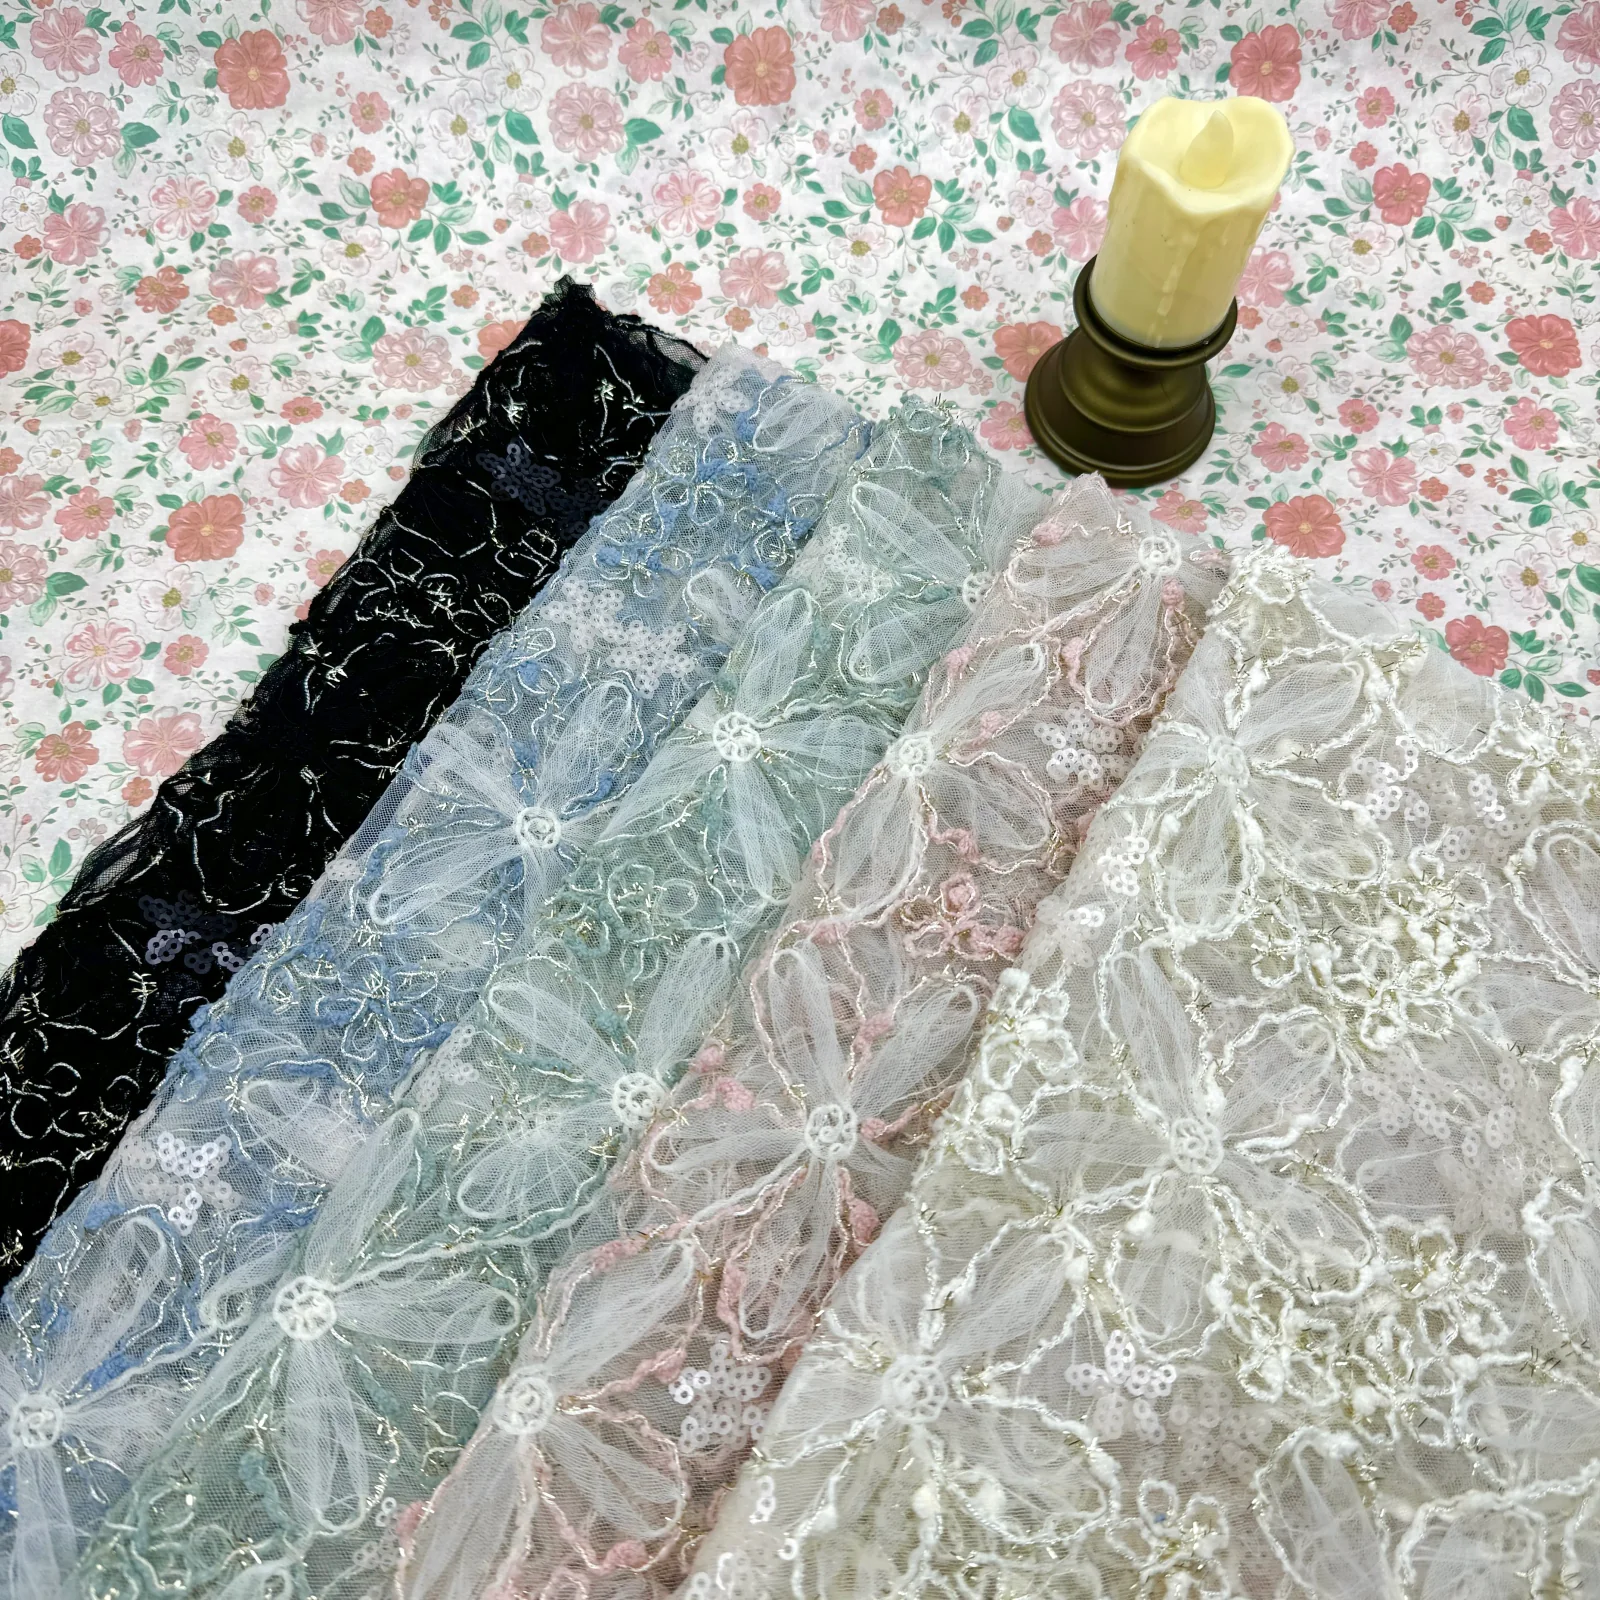
On the cover reference, identify a mesh area, an outlined motif and a decorated area as separate review zones. If a numerical height is necessary, agree the measurement location, reference surface, sample state and method with the responsible team. Keep the selected zone supported in a consistent position so later samples can be compared under the same arrangement.
Review contact with the layers around it
For an embroidered panel under a jacket, inspect how the jacket sits over the selected areas when the wearer moves. For a cuff, review the fold and the position where the sleeve meets the hand. For a lined overlay, examine both the visible face and the assembled reverse. These checks concern the actual combination; a lining does not automatically resolve every contact issue.
Consider a design with a low-profile background and a more prominent outline. The buyer may want relief only away from the seam and fold zones. Mark those zones on the garment drawing and compare a sample placed in that position. This gives the development team a defined surface target without assuming that adding layers everywhere improves the design.
Approve the profile together with handling and care
Keep a labelled physical reference, representative side views and the garment placement record together. Describe the intended result in observable terms, such as a distinct outline with a flatter area at the fold. If the ground, decoration or supporting layers change, review the profile again rather than assuming that an unchanged front drawing produces an unchanged surface.
Evaluate the selected combination after the intended handling, cleaning and pressing procedure agreed for the garment. Note changes in shape, raised areas and contact with neighbouring layers as sample observations. Do not assign a universal care instruction from the words flat or raised. The approval should say which material combination and procedure were reviewed, not promise that every construction with a similar look will behave alike.
Discuss your embroidery project
Send All4Lace a face reference, a useful side view and the garment position, marking where relief is wanted and where layers must meet, with quantity and intended care, so we can clarify a physical sample target.
Contact Zhijin