Materials & Applications
Lace Borders for Home Textiles: Match the Main Cloth, Scale and Corners
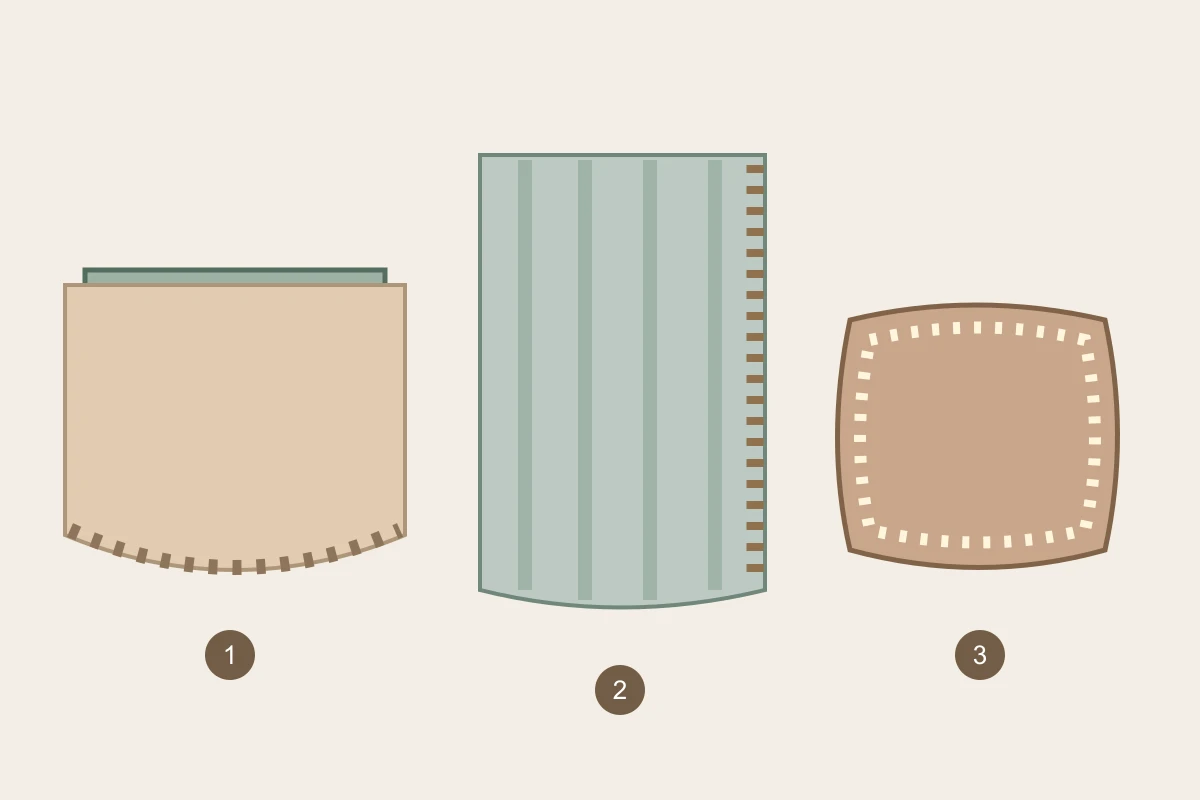
Choose a lace border for a home textile by pairing it with the actual main cloth and reviewing the finished edge at the intended viewing scale. Tablecloths, curtains and cushion covers place that edge in different positions. Start with where the border is seen and handled, then decide the visible width, corner treatment and care review for the assembled item.
Compare the lace on the main cloth, not beside its colour card
Place each candidate over the selected cloth and show the intended attachment line. Decide how much lace remains over the cloth and how much projects beyond it. The original lace-trim tablecloth tutorial published by Ideal Home demonstrates a border attached to a main cloth. Use that relationship as a starting point, with your own materials and finished dimensions.
Compare the colour relationship and motif visibility across a representative area. A small strip beside a plain swatch may hide the interaction with a large printed pattern. If the cloth has a directional design, mark its top and relate the lace direction to it. Keep a chosen pairing identified as two materials rather than one colour name.
Technical references
Review each item in its actual position
For a tablecloth, show the tabletop edge and the hanging portion together. Decide whether the lace follows the whole perimeter, two ends or a selected inset line. Put the sample over a representative table edge and inspect the side view as well as the top. This connects the trim choice to the proposed drop and corner location.
For curtains, hang the section with the proposed folds and look from both room and window sides. For a cushion cover, review the filled shape and the opening location, including where hands hold it during removal. These arrangements reveal different parts of the border; a single flat photograph is less useful than a view tied to each item.
Set the visible scale before counting length
Use a paper outline or a cloth mock-up of the finished item and mark the proposed border width on it. Compare a nearer view with the normal room view chosen for the project. Note whether the border reads as a fine outline, a distinct decorative band or a major part of the composition. Select that relationship before discussing a narrower or wider substitute.
Measure the decorated route after selecting the attachment position. Keep main-cloth size, finished overall size and border route as separate fields. If two curtain edges use paired directional decoration, identify left and right explicitly. A border on two ends uses a different quantity basis from an all-round border, even on the same main-cloth dimensions.
Give corners and openings their own sample
Prepare a corner using the actual main cloth and proposed border. Compare the chosen meeting feature and show any overlapping motif, fold or join. For a cushion, include the nearby opening if it affects that area. Choose the corner appearance with the maker, then transfer its placement marks to the layout.
| Item | Sample arrangement | Record before ordering |
|---|---|---|
| Tablecloth | Table edge, hanging cloth and one corner | Decorated route and visible projection |
| Curtain | Hung section with intended folds | Border side, direction and room/window views |
| Cushion cover | Filled shape, corner and opening | Corner meeting point and handling zone |
Hypothetical example: matching table runner and cushion
Suppose a team plans a runner with lace only across its two short ends and a matching cushion with lace on all four edges. This is a hypothetical set. The same lace reference is used, but the runner layout identifies two straight routes, while the cushion layout includes four corners and its cover opening.
The first cushion corner hides a large flower in an overlap. The team shifts the starting motif and prepares a revised corner, while retaining the runner’s approved straight-end layout. It then records quantities by item rather than multiplying one perimeter for the whole set. The example shows why shared lace does not mean shared corner or cutting decisions.
Review the proposed care process on the combination
Ask the item maker to identify the intended care process for the main cloth, lace and assembly together. Keep an assembled reference and review a representative combined sample using the agreed process. Record what was done and any observed change in the cloth, trim, join or overall shape, then decide whether the design or care instruction needs revision.
Keep that record with the material references and corner sample. State whether the enquiry covers trim only or another agreed material form, and who makes the home textile. List each item type, decorated routes and intended quantities separately. This supports a focused material discussion without implying that a decorative border supplier also provides finished household products.
Discuss your embroidery project
Send All4Lace the main-cloth reference, item outline, decorated routes and a proposed corner arrangement to discuss lace-border sampling for your home-textile design.
Contact Zhijin