Materials & Applications
Lace Overlay Skirts: Balance Layer Length, Fullness and Hanging
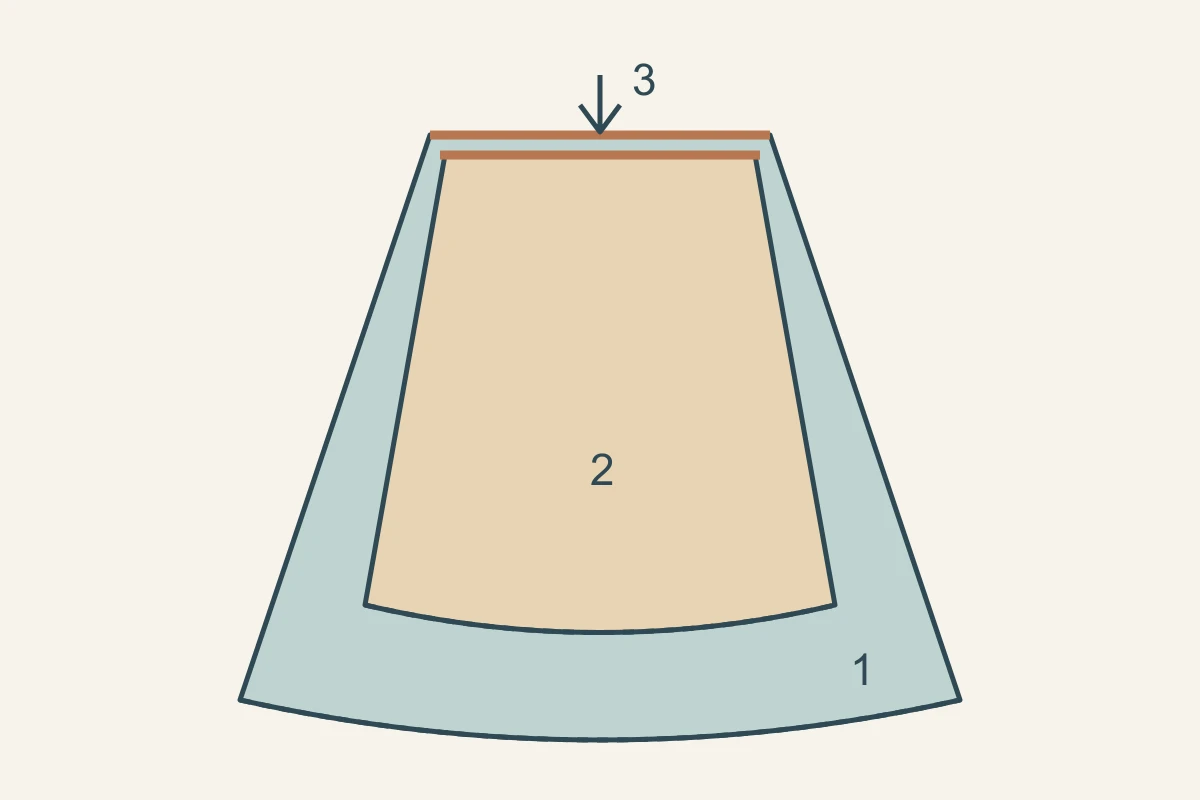
Choose lace for an overlay skirt by reviewing the outer skirt and the underlying skirt as two related shapes. Set their finished lengths from the same waist reference, decide how freely the outer layer should move and view the combination hanging. The aim is a deliberate relationship between the two hems and silhouettes, rather than a beautiful flat swatch alone.
First choose whether the layers float or act together
An overlay can follow the underlying skirt closely or move away from it. Seamwork’s original overlay tutorial distinguishes these approaches and relates them to the places where layers are joined. For the design brief, draw attachment locations explicitly: at the waist, around the opening, at a side seam or at another agreed point.
A loose outer skirt and a closely fitted inner skirt create a different proposal from two similarly shaped skirts. Describe the intended look at rest and during a step. This gives the pattern maker a clear starting point for developing the two shapes, instead of interpreting the word overlay as a complete construction instruction.
Technical references
Map finished lengths from one reference line
Mark centre front, both sides and centre back on each skirt. Measure the intended finished length from the same waist seam at each location. Record the designed difference between hems, including any longer back. Keep these finished measurements separate from cutting lengths, which also depend on the chosen edge finish.
Look at the outer edge with the actual underlying colour behind it. If a dense border ends below a shorter inner skirt, its appearance changes where the inner layer stops. Decide whether this exposed band is part of the design. A straight view plus side and rear views will reveal more than measuring only the centre front.
Compare the two shapes below the waist
Lay out the skirt patterns with waist, hip level and hem identified. Note where each shape begins to widen. For gathered or pleated styles, distinguish the fabric entering the waist from the finished waist after the shaping is made. The outer and inner skirts do not need to contain the same amount of fabric to share a waistline.
At the hem, examine whether the outer layer surrounds the inner skirt as intended when standing and stepping. If the inner shape becomes visible between folds, choose whether to widen it, narrow the overlay or keep that reveal. Make one change at a time so the next sample explains which decision improved the silhouette.
Review the paired layers hanging and moving
Assemble a representative skirt with the proposed layers and support it at the intended waist. Let the garment maker use an appropriate preparation and hanging process for those materials, then record when the observations were made. Review with the actual hem finish or a clearly identified temporary edge, because the edge is part of the visible result.
Photograph front, side and back at rest, then record the same short walk and turn for each version. Observe where the layers separate, where they remain attached and whether the inner hem appears unexpectedly. Keep the camera position and clothing underneath consistent so the comparison is about the revised skirt.
A hypothetical midi skirt: make the length choice traceable
Suppose a sample has a finished outer centre-front length of 88 cm and an inner length of 80 cm, both measured from the same waist seam. The planned visible difference is 88 − 80 = 8 cm. These are invented design values, not recommended proportions. They describe one position only; the side and back still need their own records.
In the walk video, the inner layer’s termination line is visible through the lace at the side, higher than the designer intends. Version B keeps the outer length and increases only the inner side length to move that line down. Comparing the same walk shows whether this revision improves the intended effect. Use the table to retain both the measurement and the reason for the revision.
| Record | Version A | Version B |
|---|---|---|
| Outer centre front | 88 cm, finished | Unchanged |
| Inner centre front | 80 cm, finished | Unchanged unless separately revised |
| Centre-front difference | 8 cm | 8 cm if both lengths stay fixed |
| Inner side length | Record actual sample value | Record revised value, not a guess |
| Decision evidence | Inner termination line visible too high through the side lace | Repeat the same walk and compare |
Order the fabric needed for the chosen layer arrangement
For sampling, combine the two pattern references, attachment drawing, hem-length map and lace direction in one brief. Identify whether a border must sit at the outer hem and whether its placement restricts the layout. This lets the fabric discussion address the actual area required for the skirt instead of relying on a generic width label.
The final choice should name the lace, underlying fabric and reviewed skirt version. State whether the supply is fabric by length or another agreed form. Preserve the separate length records: later changes to the waist position, hem finish or inner shape can otherwise undo a carefully chosen gap between the layers.
Discuss your embroidery project
Share your overlay and inner-skirt patterns, finished-length map and preferred lace reference with All4Lace to discuss a focused fabric sample.
Contact Zhijin