Quality & Delivery
Sequin Fabric Shedding: Locate the Loss Before Choosing a Fix
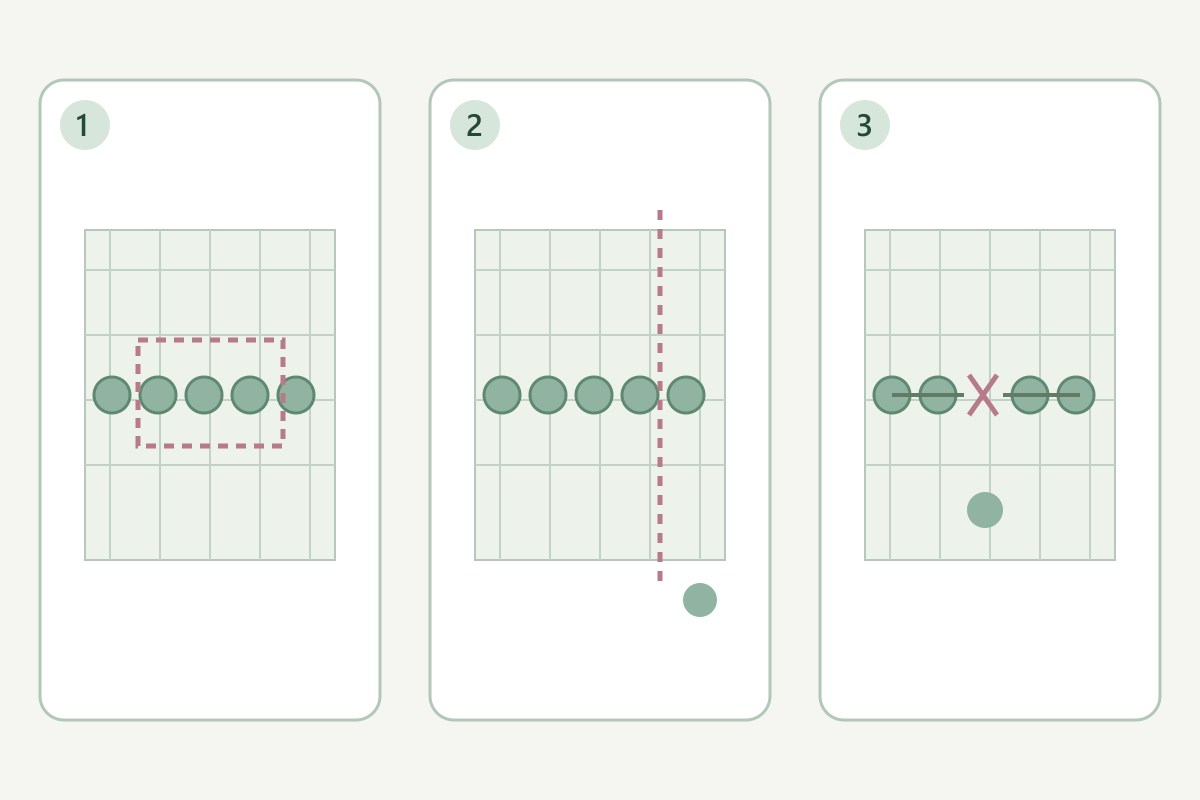
When sequins come loose, first locate the area and identify what has detached: an intact sequin, a broken fragment or material carried by a loose thread. Compare the cut edge with the untouched interior, then link the observation to handling or construction. Choose the response after locating the change, not from a loose-piece count alone.
1. Keep an untouched reference and collect the observation
Stop the operation that produced the concern and set aside an unworked comparison piece from the same identified material where available. Place the affected piece on a clean contrasting support and photograph it before removing loose threads or repairing the area. Keep detached parts in a labelled container with the sample reference. Note whether they were found on opening the package, cutting, sewing, turning the garment or after a care trial. These stages point to different questions, so preserve the sequence rather than combining every loose part into one unexplained report.
2. Distinguish an intact sequin from a broken component
Look at the detached material and the location it left behind. Is the item complete, cracked, or still connected to thread? Does the fabric show an empty attachment point, a pulled loop, damaged ground or only loose debris nearby? Record what is visible without labelling it a proven cause. Where the attachment construction is unclear, obtain a close face and reverse view or ask the maker to identify it. Sewn and adhesive constructions should not be given the same repair instruction merely because the surface looks similar.
| Observation | Where to look next | Record to retain |
|---|---|---|
| Complete loose sequin | Original attachment position | Face and reverse detail |
| Broken fragment | Remaining part and contact area | Fragment beside its source |
| Several items on one thread | Continuity of the local stitch route | Overview of the connected area |
| Loss near a new cut | Cut edge and adjacent intact region | Cut line and operation stage |
3. Map edge loss separately from interior loss
Mark the cut line on a copy of the overview and show which missing or loose elements sit next to it. Compare with an intact area far enough from that cut to see the original structure. If a row of attachments meets the cut, examine the local thread route before trimming more material away. Keep the intended seam line and allowance in the image. This helps the garment team decide whether the issue concerns an exposed attachment at the cut, a construction detail or a separate loss within the fabric.
4. Follow the local attachment from the reverse
Support the sample and inspect the reverse without pulling a loose thread to see how far it runs. Look for a visible interrupted stitch route, an unsecured end or damage at the same location as the missing decoration. Compare it with the untouched reference. A repeated pattern of loss along one route is useful evidence to discuss, but the response still depends on the actual attachment construction. Avoid an improvised instruction to knot, glue or cut every loose end before the maker has reviewed the affected structure.
5. Check the operation that preceded the loss
If the change appeared after garment sewing, compare the before-and-after pieces and inspect the sewn route. Review thread, needle condition and machine setup against the appropriate instructions. SCHMETZ lists incorrect threading, tight tension and damaged needles among possible thread-break contributors; that is a troubleshooting starting point, not a diagnosis of the sequin fabric. If needed, repeat only the agreed construction on a separate trial piece while keeping the reference untouched. Change one relevant variable at a time and record the result.
Technical references
6. Send a location-based report and agree the next action
Provide the material reference, operation stage, overview, reverse detail and any detached pieces. Describe the extent observed and identify the part of the sample left unworked. Ask the relevant maker or garment team to choose the next action: inspect the original attachment, revise the cutting or seam method, test a proposed repair on spare material, or replace the affected piece. Keep the accepted trial with the record. For an order requiring an attachment or durability test, agree the actual method and acceptance criteria separately from this visual review.
- Untouched comparison preserved.
- Detached item type identified.
- Cut line and interior distinguished.
- Reverse viewed without pulling threads.
- Operation stage recorded.
- Proposed response evaluated on a separate trial.
Discuss your embroidery project
Send All4Lace the material reference, location views and operation stage so the attachment and proposed construction can be reviewed together.
Contact Zhijin