Materials & Applications
Eyelash Lace Trim: Identify the Fringe and Mark What Must Remain
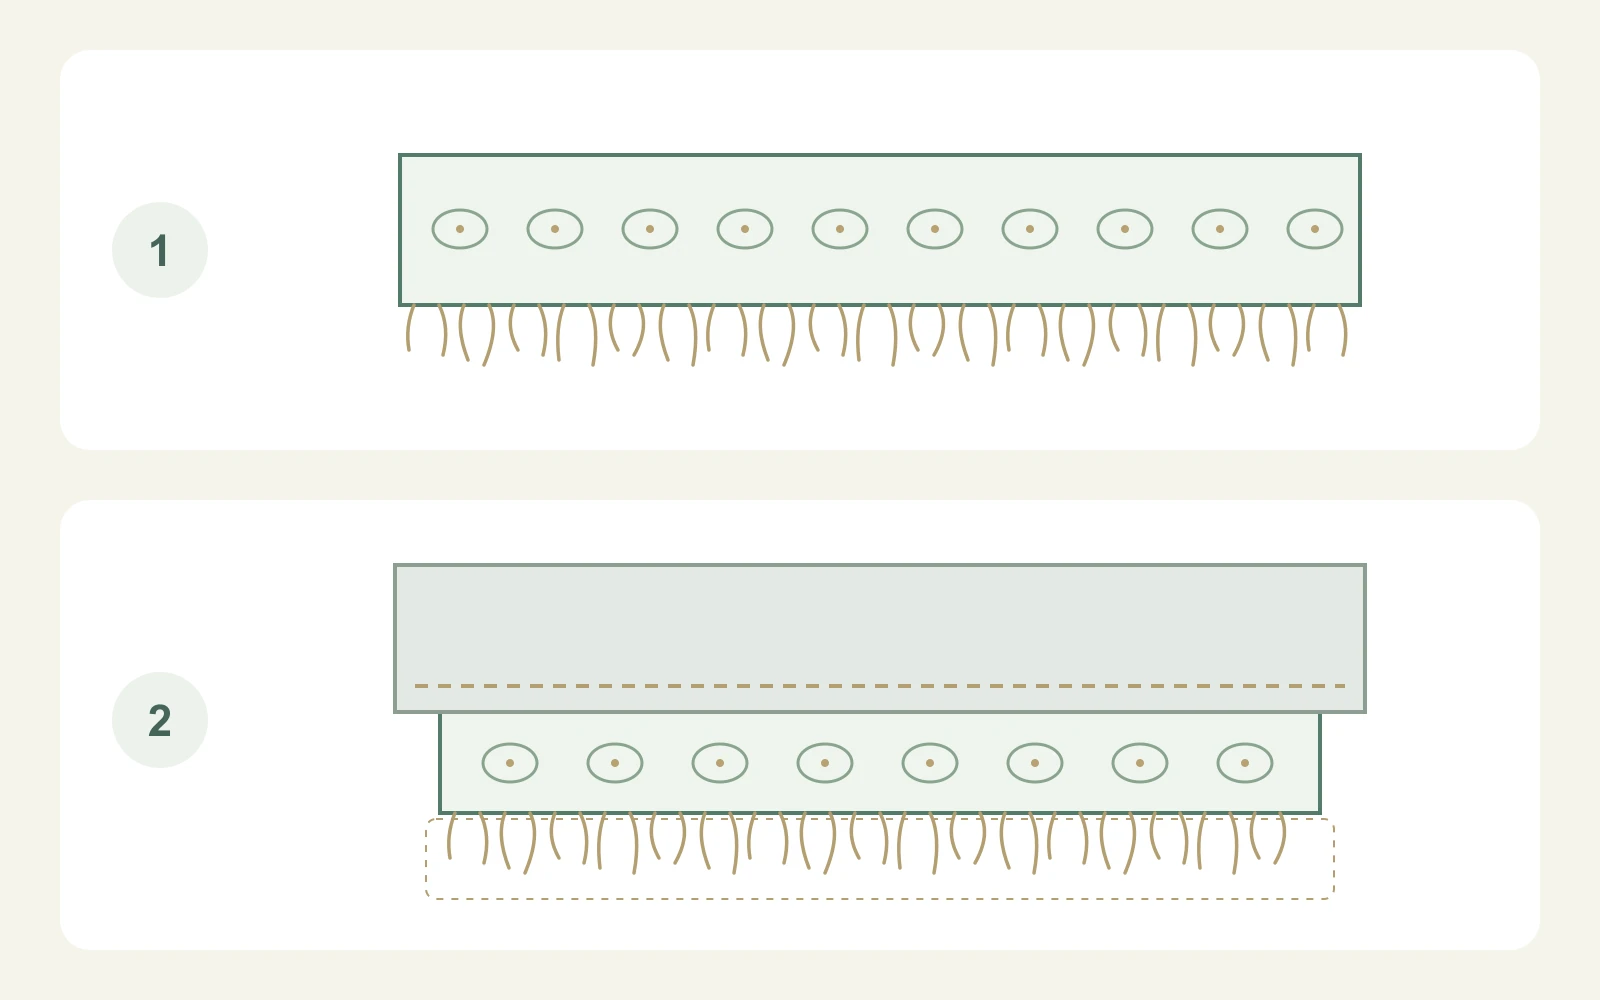
Eyelash lace trim is recognised by fine thread extensions projecting beyond its decorative edge. Choose it by inspecting that fringe and defining how much must remain visible after attachment. The lace body, the thread extensions and the sewing area are separate parts of the brief. A scalloped outline describes an edge shape; an eyelash fringe describes projecting threads. A reference may have both, but approving one does not approve the other.
Find the lace body and the projecting threads
MH’s own eyelash-trim description identifies a fringed border as a defining visual feature. Start your inspection at the point where the main lace pattern ends and the fine threads extend outward. Use a contrasting plain background and a close view that includes several adjoining motifs.
Compare that detail with the approved reference before deciding whether an uneven-looking area is intentional or needs review. Do not remove projecting threads simply to make the sample look tidy. Ask which threads belong to the specified edge and which areas are intended for later finishing.
Technical references
Mark a keep zone before discussing trimming
Draw a keep zone around the fringe that should remain exposed on the garment. Mark the attachment area separately on the lace body. If part of the lace will sit under a facing or another layer, show that overlap as well. This creates an explicit instruction about the final visible edge instead of asking someone to preserve the eyelashes without showing where.
Compare the three boundaries on one reference
A sample can have an attractive fringe but leave too little of the intended body visible after assembly. Compare the boundaries together so a change in attachment position is not mistaken for a change in the lace design.
| Boundary | What it describes | What to mark |
|---|---|---|
| Lace body | The main patterned portion | How much remains visible after attachment |
| Thread fringe | Fine extensions beyond the body | The portion to preserve and expose |
| Attachment area | Where the trim is secured | The line or overlap used in the assembly |
Example: a cuff with an exposed eyelash edge
Imagine a blouse cuff with the lace body partly covered by a narrow fabric band and the thread fringe projecting below it. Put the actual fabric band over the sample and mark its finished lower edge. Check how much of the lace motif remains visible between that band and the fringe.
Then inspect the cuff join. Decide where the two lace ends meet and how the projecting threads should appear there. Approve a small assembled section including that join, rather than judging only the uninterrupted centre of the sample. The desired result is a continuous-looking cuff edge, not necessarily a fringe of mechanically identical thread lengths.
Review a continuous section and a join
Request a section long enough to show the edge arrangement across several motifs, a clear end view and the proposed attachment. Keep an untouched reference beside the assembled trial. If the fringe has been folded during packing, record how the sample was presented for review before comparing its appearance with another delivery. Agree care evaluation for the complete combination separately, under the intended conditions.
Record the accepted edge rather than a vague finish
The approval note should identify the selected side, visible lace-body depth, keep zone, attachment position and accepted join appearance. If the supplier offers a substitute with a similar floral body, compare its projecting-thread outline independently. A matching flower does not settle the border decision. Retain one clear photograph and the marked sample so the same edge can be discussed at reorder.
- Identify the fringe-bearing side.
- Mark body, keep zone and attachment separately.
- Review the end join with the actual garment band.
- Preserve an untouched reference and an assembled sample.
Discuss your embroidery project
Send All4Lace your eyelash-edge reference and garment sketch, with the fringe keep zone and attachment position marked, so we can discuss the details of a reviewable sample brief.
Contact Zhijin