Materials & Applications
Lace Cuff Trim: Opening, Visible Width and a Clean Join
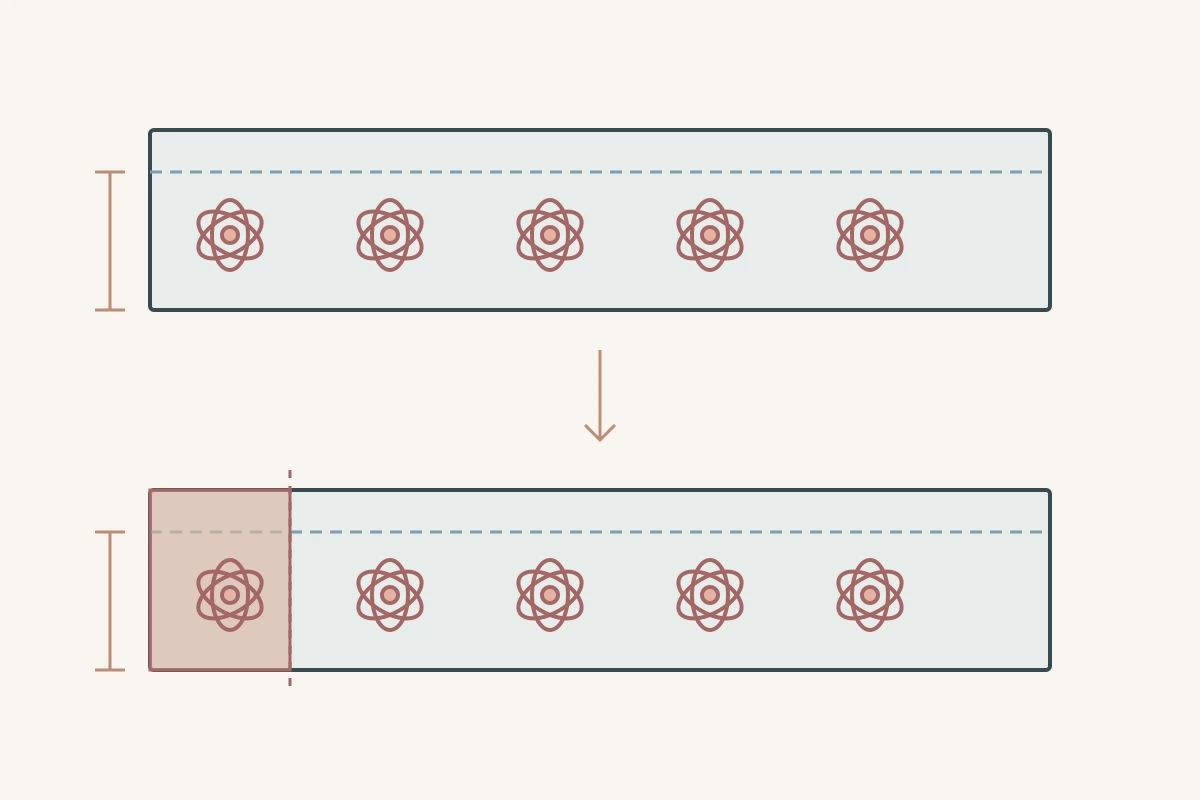
A lace cuff needs more than an attractive strip of lace. It must work with the sleeve opening, the way the hand enters and the chosen fastening. Begin with the cuff’s finished outline and opening arrangement, then position the decoration. This guide concerns a trim attached at the sleeve end; it does not assume that the trim can provide the fit, stretch or structure of the complete cuff.
Choose the opening arrangement first
Identify whether the design has a closed sleeve opening, a cuff with an opening and fastening, or decoration applied over a separate supporting cuff. For a closed opening, review how the hand passes through in the assembled sample. For a fastening, mark both its open and closed positions. A wrist measurement by itself does not settle these questions.
Show the finished sleeve circumference at the attachment line, not merely the unsewn length of a strip. State which garment size and pattern revision the measurement belongs to. Leave the final allowance and fastening construction to the garment team’s agreed pattern; there is no single added length that makes every lace cuff usable.
Separate visible lace width from total trim width
The purchased trim width and the amount visible after sewing are different specifications. Part of a trim may be enclosed in a join, laid over the sleeve or hidden under another layer. Mark the attachment line and the intended exposed edge on the actual sample. For a shaped edge, identify the visual landmark used to measure the exposed area.
A wider strip does not automatically create a wider-looking cuff. Its motif may end inside the attachment area or its open ground may be visible above the embroidery. Compare candidates beside the intended sleeve fabric and inner layer. Judge the complete junction, including what can be seen through the lace, rather than approving each material on a separate background.
Technical references
Map the join and fastening together
Plan where the strip begins and ends before confirming the motif position at the front of the wrist. The end join and fastening overlap can compete for the same space. A decorative edge that looks continuous while flat may show a broken flower or an extra layer when the cuff is closed. The following record separates those decisions.
| Decision | What to mark | What to inspect closed |
|---|---|---|
| Visible front | Chosen motif centre | Complete motif and its direction |
| Strip ends | End-join position | Gap, overlap or interrupted motif |
| Fastening | Open/closed overlap | Decoration near the fastening |
| Sleeve attachment | Stitching line and exposed width | Visible inner layers and seam |
Technical references
Review the cuff on the intended garment
Make a cuff sample attached to a representative sleeve, using the proposed inner finish and fastening. Review it open, closed and on the wearer or suitable fitting form. Observe whether the trim turns back, whether the inside join is exposed and whether raised decoration meets the wrist or a neighbouring garment. These are sample observations, not a durability or comfort certification.
Include ordinary intended actions such as bending the wrist and putting on the garment. If the look depends on a precise front-facing motif, check whether it stays in that position during the review. Agree on any further garment-level care or attachment assessment separately; a decorative trim photograph cannot supply those results.
Turn a design idea into an approval brief
Imagine a blouse cuff with a floral border and a small fastening opening. The design drawing puts a complete flower at the visible front, but the first closed sample overlaps part of that flower at the fastening. Two possible revisions are moving the motif start point or changing the trim arrangement around the opening. Compare the revised samples before approving one. This hypothetical example is not a recorded customer project.
The approval packet should contain the cuff pattern, finished opening arrangement, fabric and trim references, visible-width marks, end-join position and open/closed photographs. Identify the left and right cuff if their arrangement differs. If a new trim repeat is substituted later, revisit the join and front motif rather than treating the same nominal width as an equivalent design.
Discuss your embroidery project
Send All4Lace a cuff sketch, the opening and fastening arrangement, your preferred trim reference and the visible-width requirement. Mark the front motif and end join, and identify which questions your garment team will confirm on an attached cuff sample.
Contact Zhijin