Quality & Delivery
Lace Fabric Shrinkage: A Two-Direction Sample Plan and Decision Record
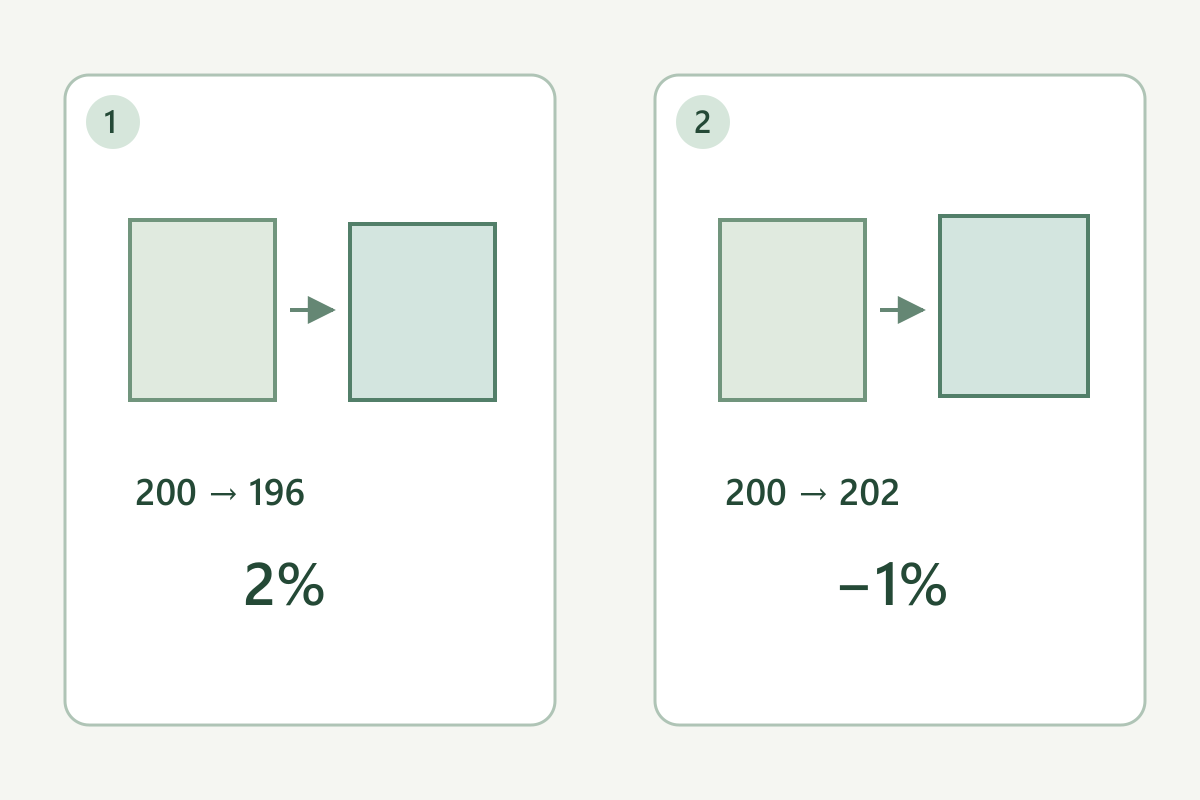
Check lace shrinkage by measuring the same paired marks before and after the planned care process, separately in the length and cross direction. Write the decision requirements before treating the sample. In this guide, shrinkage = (before − after) ÷ before × 100%; growth is negative. The plan below is a buyer’s preliminary comparison, not a complete standard test or a universal acceptable shrinkage limit.
1. Decide what the sample must demonstrate before washing
Identify the lace reference, lot or sampling source, ground, embroidery and attached decoration. Choose care suitable for the complete assembly, including the lining and main fabric. Cotton content alone cannot supply a shrinkage allowance; construction, processing and the chosen care also matter. Different dimensional changes in joined components can pucker a seam even when the separate pieces still look acceptable.
Ask the buyer or designer to state length and cross-direction requirements, appearance requirements and the intended seam or garment fit. Specify how many samples and cycles will be checked, where they come from and what to do with a borderline or unreliable measurement. These values belong to the project. Leaving the acceptance field blank until after seeing the result invites choosing a convenient limit.
AATCC TM135-2025 publicly describes length and width dimensional changes after home laundering for fabrics suitable for that care. Its complete method, preparation, conditioning and procedure are needed for a formal claim. Dry-clean-only or incompatible decorated lace needs another agreed specialist route; do not wash it just to follow this article.
Technical references
2. Why fibre, structure and joined components all matter
Cotton takes up water and swells; drying reverses that swelling. Together with released processing tension and mechanical movement, this can rearrange yarn paths and fabric structure. The Cotton Incorporated guide explains these mechanisms mainly with cotton knitted-fabric examples. Their shrinkage percentages are not lace predictions: cotton content does not fix a single rate.
Synthetic does not mean dimensionally inert. In original experiments on nylon and polyester filament yarns, heat-setting conditions affected molecular orientation, crystallinity and residual shrinkage. That laboratory work is not a lace-care recipe, but it explains why processing and thermal history deserve attention. Ask what is known about the actual finish and proposed care; do not assume your lace has been heat-set or promise zero shrinkage from its fibre name.
A ground, embroidered motif, thread and main fabric are tied together at their connections. If one component shortens more, it can restrain or draw in the others, producing local distortion or seam pucker. Therefore observe open and decorated regions separately and check the joined trial as well as loose pieces. Different before/after values suggest which comparison to make next; they do not by themselves prove the cause. Keep the actual care and measuring state controlled rather than trying a hotter process simply to force a result.
3. Use repeatable internal marks in both directions
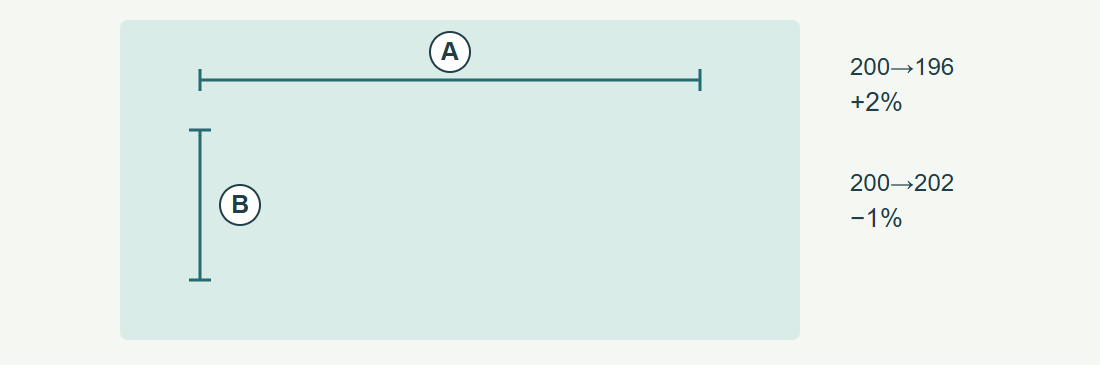
Choose a sample that represents the relevant motifs and open areas, not only a convenient dense patch. Label direction A along the supplied length and direction B across it; record any different manufacturing or cutting direction. Set pairs of durable, care-compatible marks within connected material and photograph them with sample identification. Measure between the same marks later, not between cut ends that can fray or changing scallop peaks.
On narrow trim, a 200 mm cross gauge may not fit. Use a feasible repeatable cross reference on the actual structure and record its real starting distance. If there is no secure internal transverse pair, agree a repeatable width feature and photograph its endpoints, labelling it as a width observation rather than pretending it is a standard gauge. Severe curling or unstable endpoints may require a specialist measuring fixture or different sample plan.
4. Establish whether the reading is reliable enough
Measure flat on a suitable support without stretching the openings or pressing the lace into a new shape. Record the measuring instrument, its smallest readable division, the paired marks, units and sample state. Repeat the reading after lifting and gently replacing the sample. Preserve the separate readings; a repeated number does not prove accuracy, but inconsistent readings reveal an unstable method.
Short gauges magnify the percentage effect of the same reading difference. For illustration, 1 mm is 0.5% of 200 mm but 5% of 20 mm. This arithmetic is not an uncertainty calculation for a ruler or test. If mark ambiguity or repeated-read differences can change the pass/fail decision, hold the decision. Improve the support or marking, choose a longer valid gauge in that direction if the material permits, or arrange professional measurement. Never enlarge a narrow trim’s width by stretching it to create a convenient gauge.
5. Record the care cycle and return to a comparable state
Write the actual washing or professional-care route, relevant temperature and mechanical conditions, detergent where relevant, drying, support and finishing. Use the agreed care, not a generic “normal wash”. Record every planned cycle and every deviation. If pressing is part of the intended finish, distinguish it from pulling or ironing the sample back to its original dimensions.
Before the final reading, return the sample to the agreed dry, relaxed measuring state comparable to the initial one. Record the environment and preparation; follow the selected method’s exact conditions for formal work. Do not compare a damp stretched specimen with a dry initial reading. If a mark vanishes or the structure tears, label that reading unusable, retain the observation and repeat according to the agreed sampling plan instead of estimating the missing number.
6. Keep the raw readings and state the sign
Hypothetical direction A: 200 mm becomes 196 mm, so (200 − 196) ÷ 200 × 100 = +2%, meaning 2% shrinkage. Hypothetical direction B: 200 mm becomes 202 mm, giving −1%, meaning 1% growth. These are independent directions and invented arithmetic examples, not All4Lace product results.
Some reports define signed dimensional change in the opposite direction. Copy the formula and sign convention onto the sample card before comparing reports. Retain each marked position and specimen result; do not silently average away an individual distorted motif or a damaged edge.
For every cycle in this plan, report cumulative change against the same original pretreatment value for that mark pair: (original before − value after cycle n) ÷ original before × 100%. Cycle 2 or 3 does not use the previous cycle as this denominator. If you also want the change during a single cycle, record it separately as (previous-cycle value − current value) ÷ previous-cycle value × 100%, clearly labelled with that different baseline. It must not replace the cumulative result compared with a cumulative requirement.
| Hypothetical direction | Before | After | Result by this article’s formula |
|---|---|---|---|
| A: along length | 200 mm | 196 mm | +2%: shrinkage |
| B: across sample | 200 mm | 202 mm | −1%: 1% growth |
7. Copy this blank record before treating a sample
Fill one card per identified specimen, with additional rows for each direction, mark pair and cycle. Blank fields are intentional: they must come from your project and actual observations. Do not fill them with the illustrative dimensions above unless those are genuinely the marks you used.
| Record field | Fill before treatment | Fill after each agreed cycle |
|---|---|---|
| Specimen and representation | Reference ___ / lot or source ___ / sample location ___ / specimen count ___ | Specimen still identifiable ___ / any loss or damage ___ |
| Requirements and decision owner | A requirement ___ / B requirement ___ / appearance ___ / assembled-seam requirement ___ / owner ___ | Requirement met, not met or indeterminate ___ / reasons ___ |
| Care plan | Suitable care evidence ___ / method and version, if formal ___ / planned cycles ___ / planned wash, dry and finish ___ | Actual cycle ___ / actual wash, dry and finish ___ / deviations ___ |
| Marks and measuring state | A/B orientation ___ / pair ID ___ / photo ID ___ / instrument and division ___ / initial state and preparation ___ | Same endpoints ___ / final state and preparation ___ / repeatability issue ___ |
| Raw readings per pair | Original pretreatment readings and unit ___ / fixed original baseline ___ | Cycle ___ / final readings and unit ___ / fixed-original-baseline cumulative result ___ / optional previous-cycle baseline and incremental result, separately labelled ___ |
| Appearance and assembly | Initial motif spacing, edge shape and attachments ___ / main fabric reference ___ | Curling, local distortion, seam mismatch and attachments ___ / photos ___ |
| Disposition | Planned action for unreliable or outside-requirement results ___ | Accept for stated next stage ___ / remeasure ___ / revise and retest ___ / decision owner and date ___ |
8. Decide: accept for the next stage, remeasure, or revise
Example decision sequence, with no invented industry limit: first ask whether the marks, care and measuring states are valid. If a narrow cross reading changes enough between placements to straddle the buyer’s stated limit, the result is indeterminate; improve or refer the measurement and do not call it a pass. If the readings are reliable and both directions, appearance and the agreed joined-seam check meet the prewritten requirements, retain the specimen as accepted for that defined next stage.
If separate lace readings meet the project’s requirements but a joined main-fabric trial puckers after the same care, hold approval of that assembly. Compare the components and seam construction, revise one chosen factor and repeat the agreed sequence. If reliable results fall outside the requirement, discuss another construction, material or a compatible approved care route with the decision owner, then retest; do not simply rewrite the allowance after seeing the failure.
A passed preliminary specimen is not a guarantee for an entire delivery. Agree representative production sampling and any formal laboratory requirement separately. Do not enlarge every pattern piece by one shrinkage percentage: the two directions, local motifs and joined components may not change alike.
Discuss your embroidery project
For an All4Lace sampling discussion, send the lace reference, intended complete-garment care, main fabric and lining, the prewritten requirements and the completed readings with labelled photographs. Keep any formal testing request separate from this preliminary sample plan.
Contact Zhijin