Materials & Applications
Lace Godet Inserts: Plan the Point, Direction and Open Hem
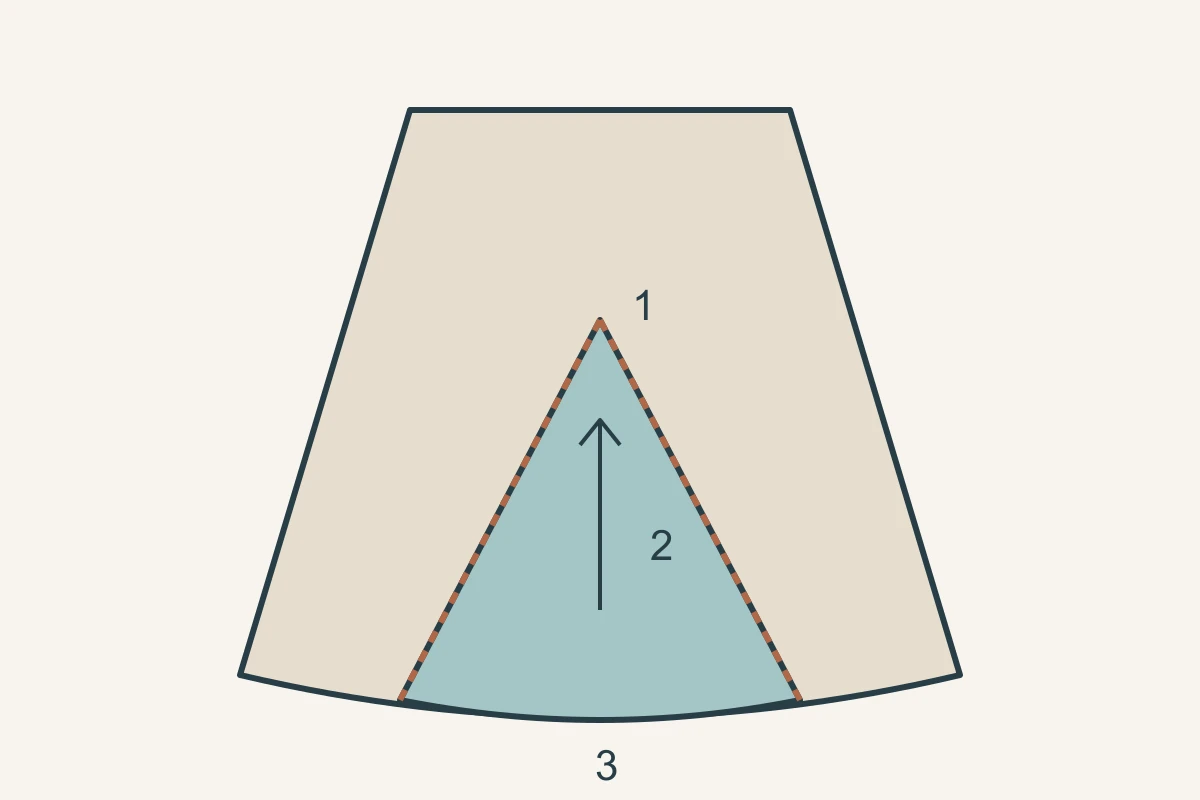
A godet is an inserted fabric section that adds flare at a hem, commonly with a triangular outline. For lace, the selection depends on the complete insert: its narrow upper point, widening sides and visible lower edge. Approve it alongside the surrounding garment fabric. A small decorative swatch cannot demonstrate the expanded silhouette or the join where the insert begins.
Start with the insert pattern, not a lace width label
Threads describes a godet as a triangular insert providing flare and sweep at the hem and illustrates insertion into existing seams. For sourcing, put the intended outline on paper: the point where it starts, the two joining edges and the finished hem. Use your garment maker’s actual pattern rather than a generic triangle drawn from a photograph.
Distinguish the sewn insert from an unfilled slit in the design brief. Mark whether the lace continues to the top point and whether another layer follows the same outline. The amount of visible lace depends on the assembled panels and how they open, not simply on the greatest width of the flat insert.
Technical references
Check the motif across the whole widening shape
Place the paper pattern over a representative full repeat. Review what survives near the narrow top and what appears across the wide hem. If the embroidery has a clear upward direction, mark it on every piece. Rotating triangles to fit the cloth may change that direction; a compact layout is not automatically an acceptable visual layout.
For several inserts, compare them as a set. Decide whether each should show the same central motif, a coordinated sequence or an intentionally varied placement. Record that choice before estimating usable fabric. A nominal fabric width alone does not establish how many acceptable inserts can be cut from a length.
Review the upper point and both joins in a sewn sample
The upper point is a place to inspect closely because the insert and surrounding panels meet there. Ask the garment maker to show the inside and outside of the proposed junction, including any underlying layer. Judge the outline, visible seam and wearer contact on the actual assembly; do not infer a suitable sewing method from the lace photograph.
Follow the two joins down to the hem and check what happens where the edge finish meets them. If raised decoration crosses a join, resolve its treatment with the maker on a sample. There is no universal seam allowance, needle setting or pressing temperature supplied by the word lace.
Use a panel record that includes movement
Keep the same record for each candidate. A short, comparable movement sequence can help reveal when the insert becomes visible, but it is an observation for this design rather than a standardised durability test.
| Review item | Show together | Record |
|---|---|---|
| Upper point | Lace, garment fabric and inside layers | Junction appearance and unresolved finishing |
| Motif direction | All inserts laid in wearing orientation | Required direction and placement relationship |
| Closed silhouette | Garment at rest | Amount of lace intentionally visible |
| Open silhouette | Same garment during a recorded step or turn | How the insert opens and layers appear |
| Lower edge | Insert hem meeting neighbouring hems | Edge continuity and intended level |
A hypothetical skirt: the best swatch may need a new layout
Imagine a dark skirt with several pale lace inserts. The initial layout centres a flower near each lower edge, but a pointed leaf is cut through at the upper junction. The designer could shift the motif, use a different repeat or deliberately accept that crop. Changing only the photograph would not resolve the actual cut shape.
In a second mock-up, the selected underlayer ends above the lace hem. The step video reveals that termination when an insert opens. Decide whether to extend it or retain the contrast, then review again using the same movement. This is a fictional decision exercise, not a customer case or a performance claim about an All4Lace fabric.
Approve placement and quantity on the same basis
The final packet should link the insert pattern version, fabric reference, motif direction and approved sewn sample. Identify the number of inserts per garment and whether their placements must match. Leave unverified cutting yield open until the actual pattern has been laid out on confirmed usable fabric, including any placement restrictions.
State whether the purchase concerns fabric lengths, individually placed pieces or another agreed deliverable. Keep the garment maker’s assembly approval separate from the supplier’s fabric reference approval. If the hem width, insertion height or lining changes later, revisit the panel review instead of assuming that the previous approval covers the revision.
Discuss your embroidery project
Share your godet pattern, surrounding garment fabric reference and intended motif arrangement with All4Lace to discuss a suitable lace sampling scope.
Contact Zhijin