Materials & Applications
Embroidered Sleeve Placement: Sleeve Cap, Elbow and Seam Matching
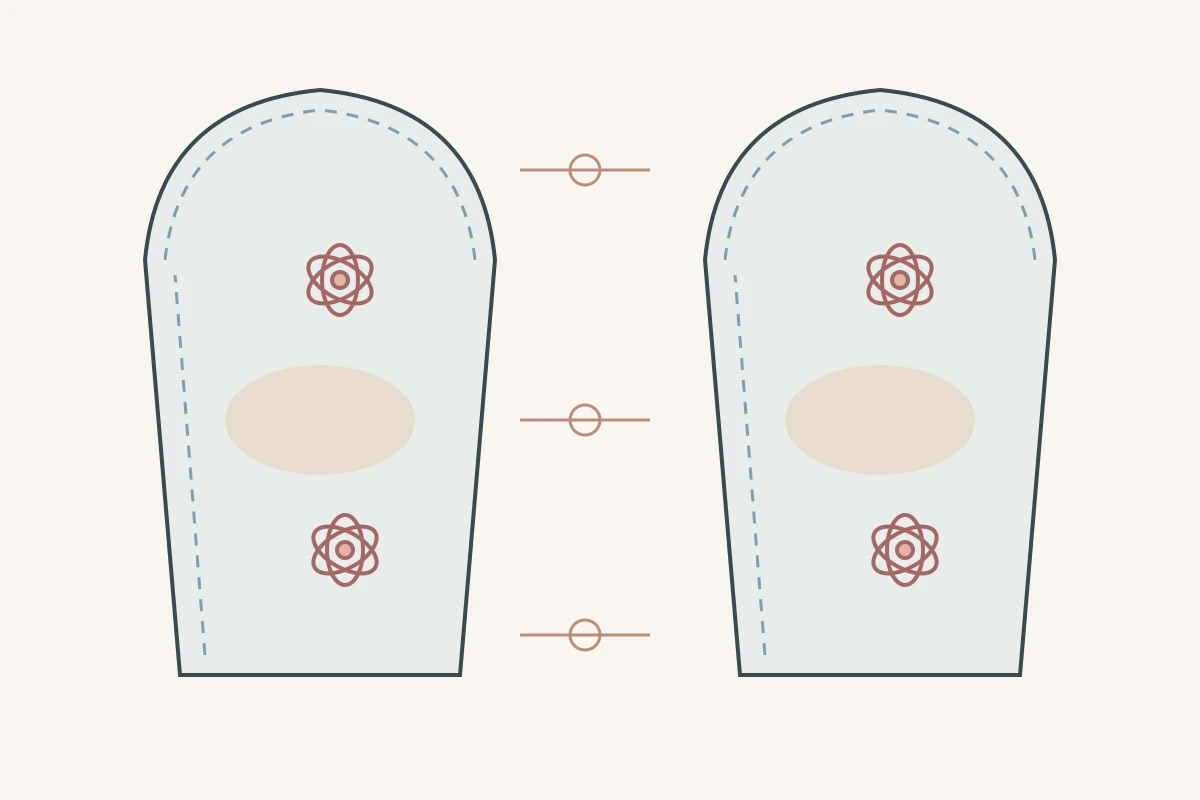
Embroidered sleeve fabric should be selected with the sleeve pattern beside it. A motif that looks balanced on a flat rectangle may move into a seam, turn away from the front or sit at the elbow after assembly. Start with placement on the finished sleeve, then ask whether the available fabric repeat can achieve it. This makes the approval about a usable garment part rather than a favourite close-up.
Mark the finished sleeve before choosing a motif
On the paper pattern, identify the stitching lines, cutting lines, front and back, grain direction, sleeve opening and any additional sleeve panels. Mark the intended visual centre on the worn sleeve. It may not coincide with the centre of the flat pattern. Use the pattern maker’s own labels and alignment marks; do not assume that a particular notch convention applies to every design.
Lay a transparent copy over a full fabric repeat. Mark motifs that cross a seam and those that must remain complete. Keep the decoration placement separate from the cutting boundary. A picture of an embroidered sleeve without a pattern cannot establish how much repeat or fabric length your size range will need.
Technical references
Review the sleeve cap in its sewn shape
A set-in sleeve cap joins the armhole along a shaped line. Before approving a prominent flower near the shoulder, review where its visible parts fall once the sleeve is assembled. A flat layout can conceal a motif divided by the armhole seam or turned toward the back. The purpose is to agree on the intended appearance, not to prescribe a universal clearance from the seam.
Ask the garment team to make a trial assembly with the proposed material and construction. Inspect the sleeve head, front view and back view together. If the pattern or fitting changes, return to the placement map: an earlier decoration approval does not automatically cover a revised armhole or cap.
Technical references
Treat the elbow as a separate review zone
Discuss the elbow with the wearer’s intended movement in mind. Bend and straighten the arm in a representative sample, noting whether raised decoration folds into contact or whether the main motif disappears into the bend. Record the observations instead of describing the fabric as comfortable, stretchy or durable from a flat photograph. Use these zones as separate approval questions.
| Zone | Observe on the sample | Record for the next revision |
|---|---|---|
| Sleeve cap | Motif position at the armhole | Shoulder landmark and seam line |
| Elbow | Appearance with arm bent and straight | Contact or folding concern |
| Underarm seam | Visible motif interruption | Chosen alignment point |
| Sleeve opening | Decoration beside the finished edge | Visible edge and inner finish |
Approve two sleeves together
Decide whether the pair should be mirrored, repeated in the same direction or intentionally different. These are three different briefs. Check the actual face, reverse and motif direction before assuming that turning a pattern piece over produces an acceptable second sleeve. A design with directional flowers or different face and reverse appearances may require a different cutting arrangement.
Review both sleeves in the same front-facing photograph and record their seam positions. Where a motif meets an underarm or panel seam, specify the point to align: a flower centre, stem junction or another visible landmark. “Match the pattern” alone leaves too much interpretation, particularly when several motifs meet one seam.
Use an assembled sample to close the decision
Consider a hypothetical blouse with a large flower on each outer forearm and quieter decoration around the elbow. The first trial shows one flower facing outward and the other rotating toward the back. The useful correction is to revise the paired placement map and repeat the sewn review, rather than simply requesting more embroidery. This is a planning example, not an All4Lace customer case.
Retain the approved pattern revision, left/right layout, fabric reference, marked seam views and fitting comments together. Note any unresolved contact, attachment or care questions for the garment team’s assessment. Fabric appearance approval and finished-sleeve approval should have separate records, so a later colour or pattern change can be checked against the correct decision.
Discuss your embroidery project
Send All4Lace the sleeve pattern revision, intended left/right motif arrangement and marked seam areas with your fabric reference. State which decisions need a fabric sample and which require your garment team’s assembled sleeve review.
Contact Zhijin